I’m totally into anything pink, shiny, and a bit over the top! When I whip up chocolate-covered strawberries, I totally go for those light pink and white vibes! They look fancy, yet they stay simple. They also photograph beautifully, which never hurts. I’ve found that these designs work for baby showers, bridal events, Galentines nights, and quiet Fridays. They always look intentional, even when the process stays easy.
Because I live in Florida, strawberries show up early and stay sweet longer. That means I get more chances to play with pastel chocolate. Also, the bright light here makes every pink swirl pop. So yes, location matters when you’re chasing pretty dessert photos.
This post walks through the full recipe with exact measurements and clear steps. It also shares design ideas that stay soft and elegant. Nothing loud. Nothing messy. Just clean lines, gentle color, and simple charm. If you love light pink and white desserts, you’re in the right place.
I keep everything practical because pretty should never mean stressful. You won’t need special tools or bakery training. You will need patience, though. Chocolate rewards calm hands. It punishes rushing.
Each section stays focused, short, and useful. You’ll see tips, steps, and design ideas without fluff. I skip the drama and keep the good stuff. And yes, chocolate covered strawberries will show up often because that is the point.
Let’s get into the details. The chocolate is waiting.

Some of the links on this page are affiliate links, which means that if you click on them and buy something, I might get a small commission. But don’t worry; it never costs you more. You can peek at my full disclosure if you’re curious about the fine print.
Why Chocolate-Covered Strawberries Are the Ultimate Treat
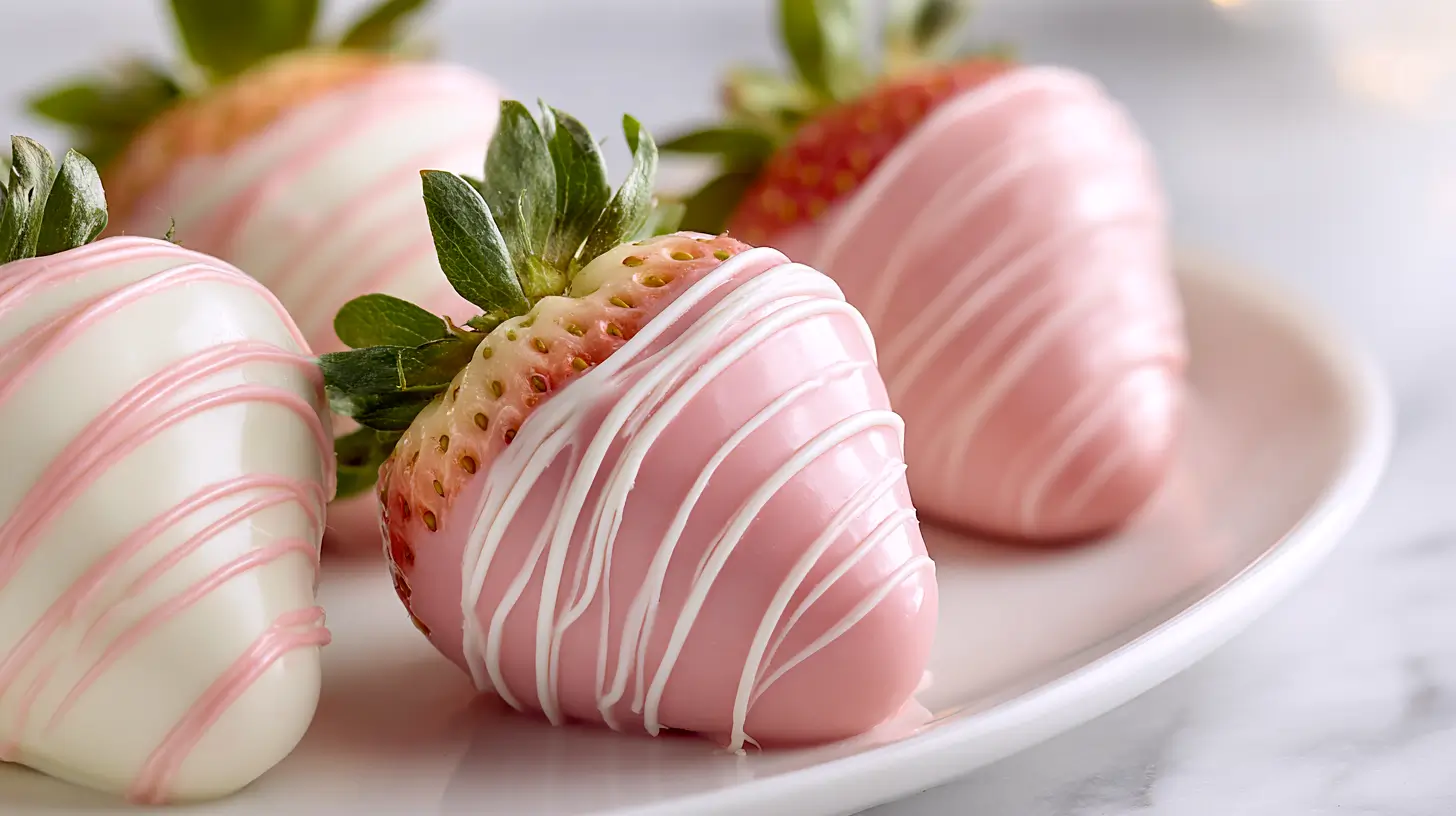
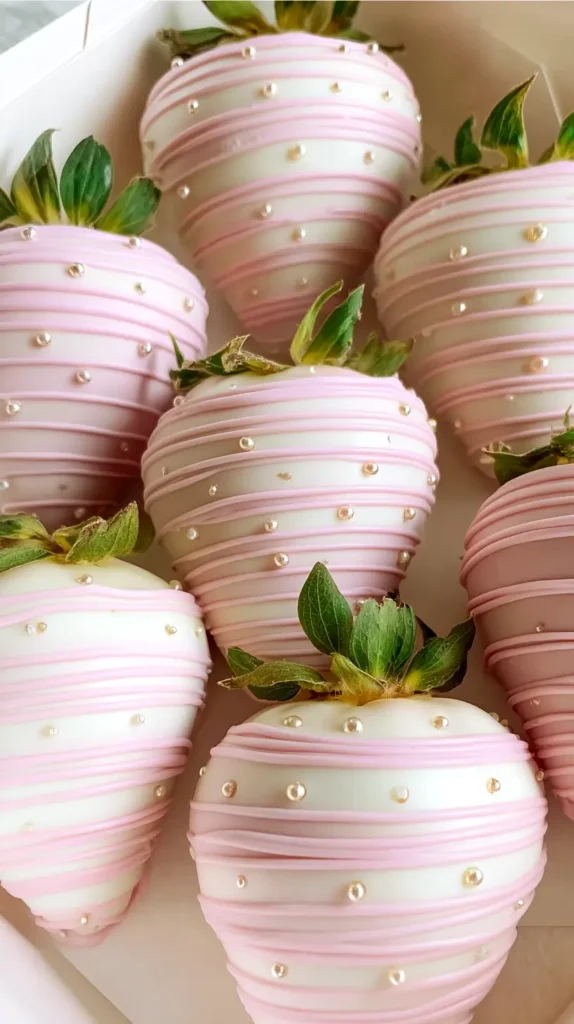
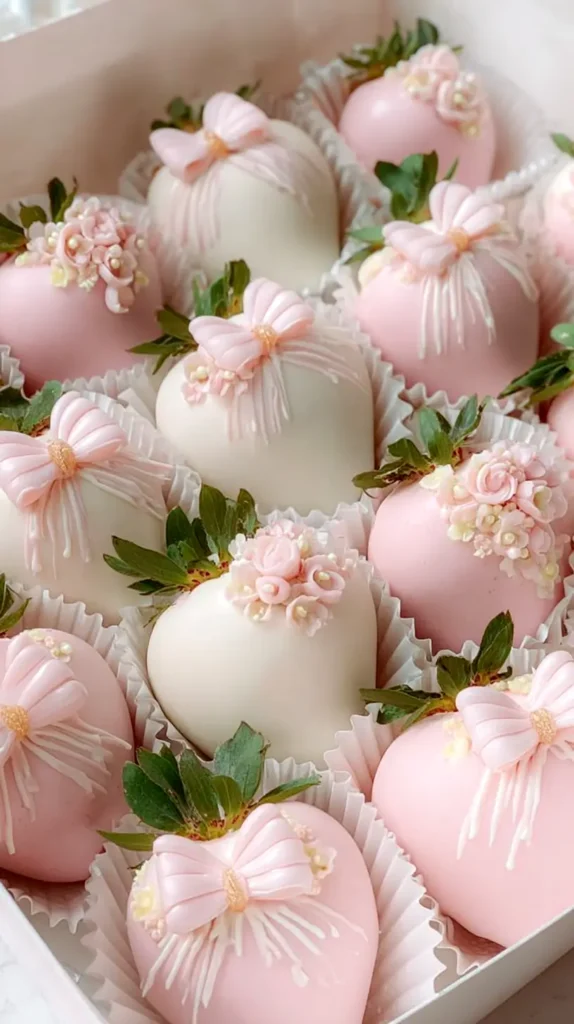
Light pink and white chocolate covered strawberries look clean, soft, and intentional. I like that these colors stay gentle without disappearing on a dessert table. Nothing about them feels heavy, which keeps the whole setup looking light. That balance is why I reach for this combo first.
Pastel tones read as elegant without trying, which makes them easy to use. White chocolate adds contrast without taking over. Pink adds warmth without being loud. Together, the colors stay balanced and easy on the eyes. They also work across age groups, which matters more than people admit.
I’ve found that guests notice these quickly on a dessert table. Eyes usually land there before they move anywhere else. A pause happens. Then the leaning in. Photos tend to follow, which tells me the design is working.
Because the base stays simple, I can add detail without things getting messy. Drizzles, sprinkles, and lines stay clear instead of blending together. Nothing gets lost.
Here are a few reasons these designs stay popular:
- They match baby showers, bridal showers, and spring events.
- They photograph well in natural light.
- They look store-bought even when homemade.
- They pair well with gold, silver, and pearl accents.
However, color quality matters. Cheap pink melts can look gray. So always check the shade before melting. A soft blush works better than hot pink.
Meanwhile, white chocolate should be bright, not yellow. Yellow reads old. Bright reads fresh.
When you use quality melts, the finish stays smooth. The color stays true. The lines stay crisp.
Because chocolate covered strawberries rely on contrast, these shades help every detail stand out. Even simple zigzags look polished.
So while other colors come and go, light pink and white always stay safe. They always stay pretty. And they always get compliments.

The Exact Tools and Ingredients You Need to Make Chocolate-Covered Strawberries
Good results start with the right ingredients. That is not dramatic. That is just true. Chocolate-covered strawberries show everything. There is nowhere to hide.
Here is exactly what you need:
Ingredients:
- 1 pound fresh strawberries, about 20–25 berries
- 12 ounces white chocolate melting wafers
- 12 ounces light pink chocolate melting wafers
- 1 teaspoon coconut oil or vegetable shortening, optional for thinning
- 2 tablespoons white nonpareils or pearl sprinkles, optional
- 2 tablespoons pink sanding sugar, optional
Tools:
- 2 microwave-safe bowls
- 1 silicone spatula
- Parchment paper
- 1 baking sheet
- 2 piping bags or zip-top bags
- 1 tall glass for dipping
- 1 fork for drizzling
Always wash and dry the strawberries first. Then dry them again. Moisture ruins chocolate. It causes streaks and separation.
Because water and chocolate do not mix, I leave the berries out for 30 minutes. That step saves frustration later.
Meanwhile, line your baking sheet with parchment. Set it near your workspace. Once the chocolate melts, things move fast.
Also, cut tiny tips off your piping bags before filling. A small hole gives cleaner lines. Big holes get messy.
If your pink chocolate seems thick, add the coconut oil. Start with half a teaspoon. Then stir. Add more only if needed.
That calm shows in the final look. And with chocolate covered strawberries, calm always pays off.
How to Make Chocolate-Covered Strawberries in Steps
This is the full process, start to finish. Nothing skipped. Nothing vague.
Step 1: Wash the strawberries under cool water. Pat them completely dry with paper towels. Let them air dry 30 minutes.
Step 2: Line a baking sheet with parchment paper. Set it aside.
Step 3: Place white chocolate wafers in a microwave-safe bowl. Heat for 30 seconds. Stir. Repeat in 15-second bursts until smooth.
Step 4: Place pink chocolate wafers in a second bowl. Melt the same way. Stir until glossy and smooth.
Step 5: If either chocolate seems thick, stir in up to 1 teaspoon coconut oil. Do this slowly.
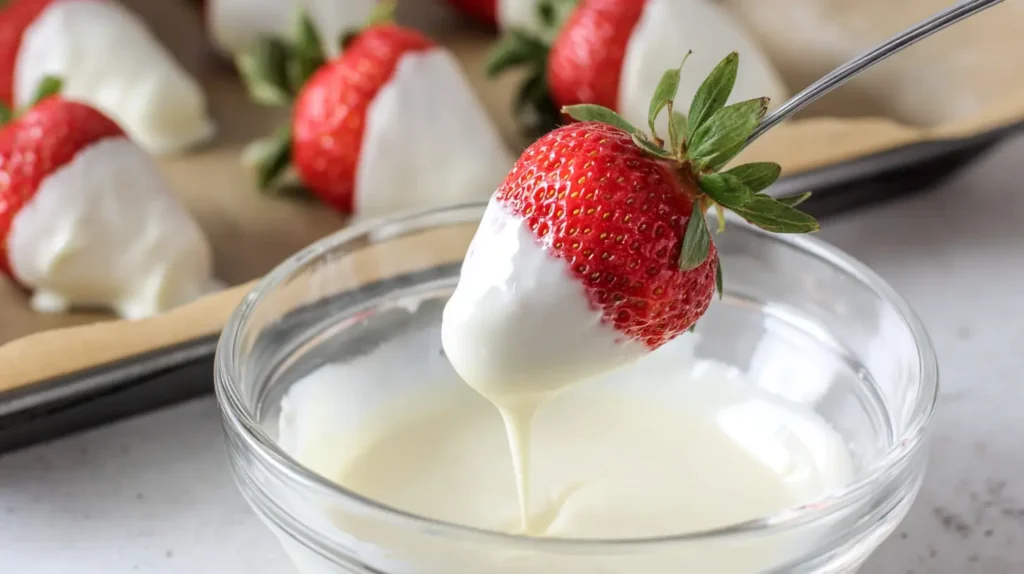
Step 6: Hold each strawberry by the stem. Dip into white chocolate. Swirl gently. Lift and let excess drip off.
Step 7: Place the dipped strawberry on parchment. Repeat with half of the berries.
Step 8: Clean the glass. Then dip the remaining strawberries in pink chocolate. Place them on parchment.
Step 9: Let all strawberries set for 10 minutes. Do not rush this step.
Step 10: Transfer remaining white chocolate into a piping bag. Drizzle over pink berries in thin lines.
Step 11: Transfer remaining pink chocolate into another piping bag. Drizzle over white berries.
Step 12: While the drizzle is still wet, sprinkle nonpareils or sanding sugar if using.
Step 13: Let strawberries set fully at room temperature. This takes about 30 minutes.
Step 14: Once set, transfer to a clean tray. Store uncovered in the fridge until serving.
Because timing matters, do not refrigerate before the chocolate sets. Cold causes condensation.
Also, avoid stacking. Chocolate covered strawberries mark easily.
When you follow these steps, the finish stays smooth. The lines stay clean. The colors stay bright.
And yes, the results look bakery-level without the bakery price.
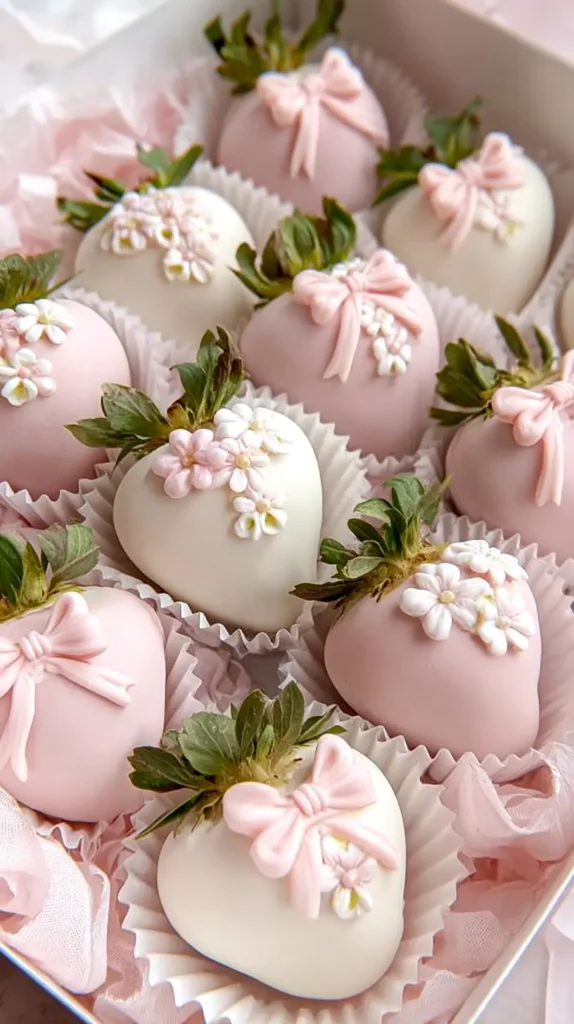
Simple Light Pink And White Designs That Always Work
Design does not need to be complicated. In fact, simple designs look cleaner. They also age better in photos.
Here are easy styles that always look good:
- Thin zigzag drizzle across the top
- One side dipped, the other side left white
- Half pink, half white with a clean line
- White base with pink dots using a toothpick
- Pink base with white diagonal lines
Because chocolate sets fast, work in small batches. Drizzle five at a time. Then pause. Then repeat.
If lines blur, the chocolate is too warm. Wait one minute. Try again.
For dots, dip a toothpick into melted chocolate. Tap gently. Let gravity help.
For stripes, hold the piping bag higher. Thin lines fall straighter.
Also, rotate the tray as you work. That keeps spacing even.
I’ve found that less really does more here. Too many layers look busy. One or two details look intentional.
If you use sprinkles, use them lightly. A few pearls go further than a heavy pour.
And always step back after five strawberries. Check balance. Check spacing. Adjust if needed.
Because chocolate covered strawberries show every move, slow hands create better results.
So keep designs soft. Keep colors light. Let the pink and white do the work.

How To Create Elegant Drizzles And Swirls On Chocolate Covered Strawberries
Drizzles look easy. They are not. They take control and patience. However, once you get the motion, it clicks.
First, always use a small piping hole. Big holes create thick lines. Thick lines hide detail.
Second, hold the bag 6 inches above the strawberry. This gives thinner lines.
Third, move your hand, not the bag. Your wrist stays loose. Your arm guides the motion.
For swirls, start at the top. Circle down. Keep the motion steady.
For zigzags, move left to right in one smooth pass. Do not stop mid-line.
Here is a simple method:
- Fill piping bag halfway. Twist the top closed.
- Hold the bag like a pencil.
- Squeeze gently while moving.
Because pressure controls thickness, practice on parchment first. That saves mistakes.
If chocolate cools too much, reheat for 10 seconds. Stir well.
Also, clean the tip often. Dried chocolate blocks flow.
When the drizzle looks even, stop. Overworking ruins clean lines.
I always say this, and it holds true. One good drizzle beats three messy ones.
So aim for clean, light lines. Let space show. Let the base color breathe.
That restraint keeps chocolate covered strawberries looking soft and elegant.
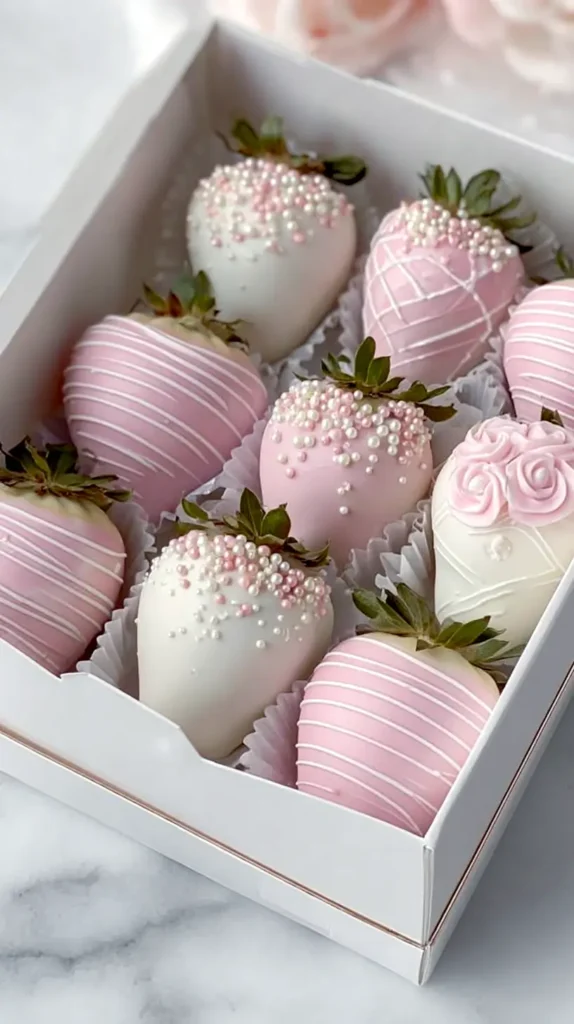
Fun Pink and White Sprinkle Ideas That Keep It Simple
Sprinkles can ruin a design fast. They also can elevate it fast. The difference is control.
For light pink and white designs, stick to small, simple shapes. Big shapes overpower the look.
Good options include:
- White nonpareils
- Pearl sugar
- Tiny heart sprinkles
- Clear sugar crystals
- Soft pink sanding sugar
Avoid mixed color blends. They distract from the palette.
When adding sprinkles, do it while the drizzle is wet. Otherwise, nothing sticks.
Also, sprinkle from high up. This spreads coverage. It prevents clumps.
Here is a clean method:
- Hold the strawberry over the tray.
- Pinch a small amount of sprinkles.
- Let them fall naturally.
Do not press them in. That smears chocolate.
For side designs, tilt the strawberry. Sprinkle lightly on one edge.
This creates detail without full coverage.
I’ve found that three to five sprinkles per berry often look best. That sounds small, yet it reads balanced.
If you want sparkle without texture, use edible pearl dust. Brush it on after set.
That adds shine without clutter.
Because chocolate covered strawberries are already bold, sprinkles should whisper, not shout.
Tips for Storing, Timing, and Serving Chocolate-Covered Strawberries
Timing matters more than most people think, and I learned that the hard way. Fresh fruit does not wait politely for your schedule. Same-day is the move here, with six to eight hours ahead working best.
I always store them in a single layer in the fridge and leave them uncovered. Covered containers trap moisture, which causes sweating. Sweating ruins the finish, and I refuse to let that happen.
If the fridge feels humid, I slide a paper towel nearby and leave the berries alone. Touching them only makes things worse, so I keep my hands off. Before serving, I pull them out about 15 minutes early. That little pause takes the chill off and brings the shine back.
Freezing is never an option because the texture does not survive it. For transport, I stick with a flat tray lined with parchment and a non-slip mat underneath. Stacking is a hard no. Bumping is also a no.
When it’s time to serve, I keep them out of direct sun because heat softens chocolate fast. A white platter is always my choice since it makes the pink pop. Greenery works for contrast, but I keep it minimal.
Because chocolate-covered strawberries are the focus, the plate stays simple. That clean setup always looks intentional without trying too hard.

Chocolate Covered Strawberries
Ingredients
Method
- Rinse the strawberries under cool water and gently pat them completely dry with paper towels.
- Place the strawberries on a clean towel and let them air dry for 30 minutes to remove all surface moisture.
- Line a baking sheet with parchment paper and set it aside.
- Place the white chocolate melting wafers in a microwave-safe bowl.
- Microwave the white chocolate for 30 seconds, then stir.
- Continue heating the white chocolate in 15-second intervals, stirring between each, until fully melted and smooth.
- If the white chocolate is thick, stir in up to ½ teaspoon coconut oil to thin it.
- Place the pink chocolate melting wafers in a second microwave-safe bowl.
- Microwave the pink chocolate for 30 seconds, then stir.
- Continue heating the pink chocolate in 15-second intervals, stirring between each, until fully melted and smooth.
- If the pink chocolate is thick, stir in up to ½ teaspoon coconut oil to thin it.
- Hold a strawberry by the stem and dip it into the white chocolate, rotating to fully coat.
- Lift the strawberry and gently shake to allow excess chocolate to drip back into the bowl.
- Place the dipped strawberry on the prepared parchment-lined baking sheet.
- Repeat the process with half of the strawberries using the white chocolate.
- Hold the remaining strawberries by the stem and dip them into the pink chocolate, rotating to fully coat.
- Lift and allow excess pink chocolate to drip off.
- Place the pink-dipped strawberries on the parchment-lined baking sheet.
- Allow all strawberries to sit at room temperature for 10 minutes to begin setting.
- Transfer any remaining white chocolate into a piping bag or zip-top bag with a small corner snipped.
- Drizzle the white chocolate over the pink strawberries in thin lines.
- Transfer any remaining pink chocolate into a piping bag or zip-top bag with a small corner snipped.
- Drizzle the pink chocolate over the white strawberries in thin lines.
- While the drizzle is still wet, sprinkle with white nonpareils or pink sanding sugar if using.
- Allow the strawberries to sit at room temperature for 30 minutes until fully set.
- Once set, transfer the strawberries to a clean tray.
- Store uncovered in the refrigerator until ready to serve.
Tried this recipe?
Let us know how it was!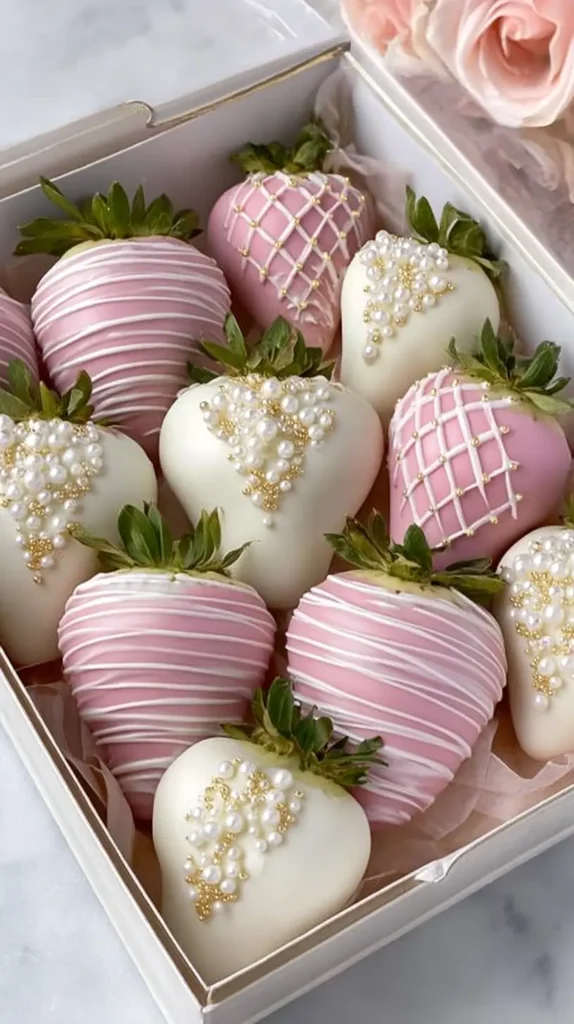
Last Thoughts on Strawberries Covered in Light Pink and White Chocolate
I always come back to light pink and white designs because they never fail me. Every season works with this palette, which makes planning easier. Every age group responds well, which matters more than people admit. A finished look comes through even when they are made at home.
Chocolate covered strawberries do not need drama to impress. Clean color, steady hands, and simple details carry the whole look. That combination wins every time without trying too hard.
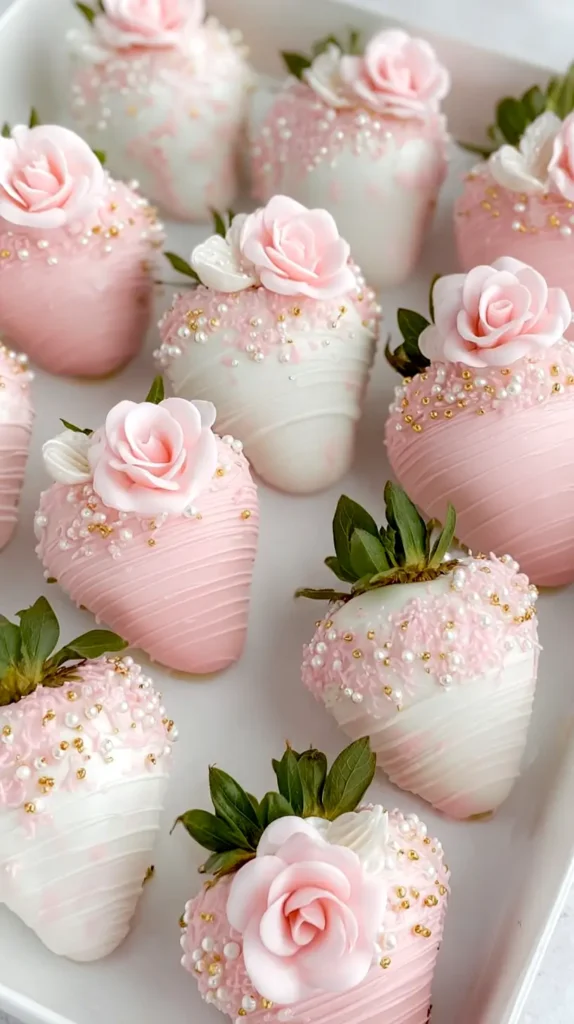
I also love how flexible they are. Pearls can dress them up. A clean drizzle keeps them simple. Modern lines or classic styles both work. The base never changes, which keeps things easy.
Living in Florida means strawberries show up almost year-round. That alone makes this treat more tempting. When the fruit is good, the final result looks better without extra effort.
I’ve found that these designs get saved the most on Pinterest. Soft color palettes pull people in. Clean dessert tables hold their attention. Achievable ideas are what actually get clicked.
Because these are easy to customize, matching a theme stays simple. Baby showers, bridal brunches, spring parties, and Galentines nights all work. Nothing feels forced.
If you want one dessert that looks expensive but stays simple, this is it. Something that photographs well also matters, and this checks that box. Guests actually eat them too, which seals the deal.
So the next time you need a pretty treat, reach for chocolate covered strawberries. Soft colors keep the look gentle. Clean lines keep everything polished. Pink and white handle the rest.
And yes, I will keep making these every chance I get. Florida strawberries and pastel chocolate are hard to resist.