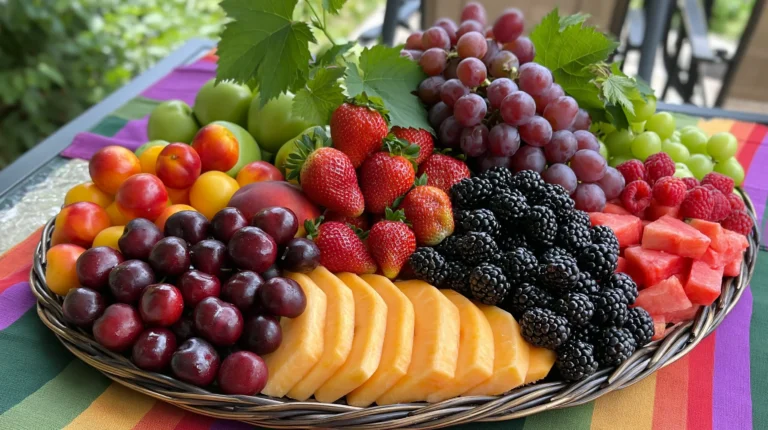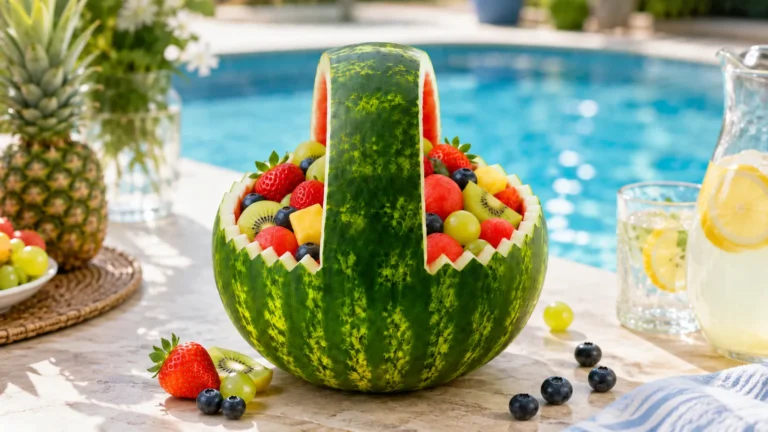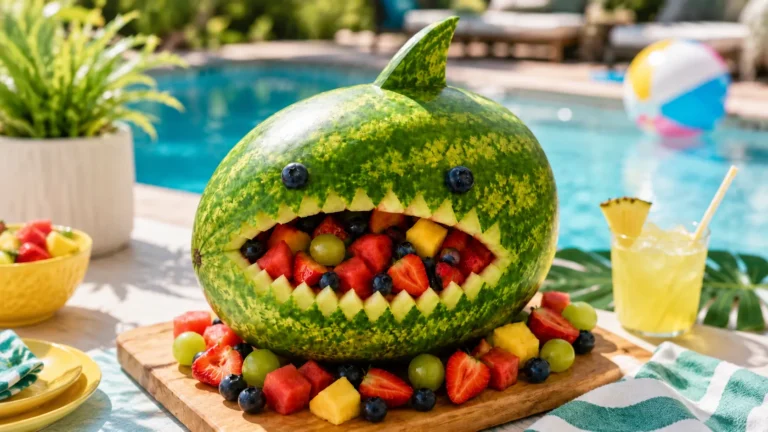
Somewhere between my third grocery run of the week and a late-night scroll session, it hit me. Flowers die in a week. Fruit gets eaten in an hour. Only one of those makes people happy twice — once with their eyes, once with their mouths. That was the day I fell headfirst into fruit bouquet ideas, and I haven’t looked back.
Here’s what nobody tells you about those fancy edible arrangements. The $80 versions from the mall kiosk? They’re mostly melon and confidence. You can build one at home for a fraction of the price. Yours will taste better, too, because you picked every single piece. No baking, no fancy skills, no special equipment beyond a cookie cutter. Just fruit, some skewers, and about an hour of your time.
Living in Orlando means sunshine and gorgeous produce pretty much year-round, so I have zero excuses. But this isn’t just a Florida perk. Every season hands you a totally different fruit lineup. Your bouquet gets a fresh look four times a year because of it. (Cheaper than redecorating. Just saying.)
I’m going to walk you through everything today. The seasonal combos, the full recipe with real measurements, and the little tricks that separate stunning from slumping. There’s also one mistake almost every beginner makes. It’s the one that turns a gorgeous bouquet into a leaning tower of melon. We’ll get there, I promise. First, let me make my case.
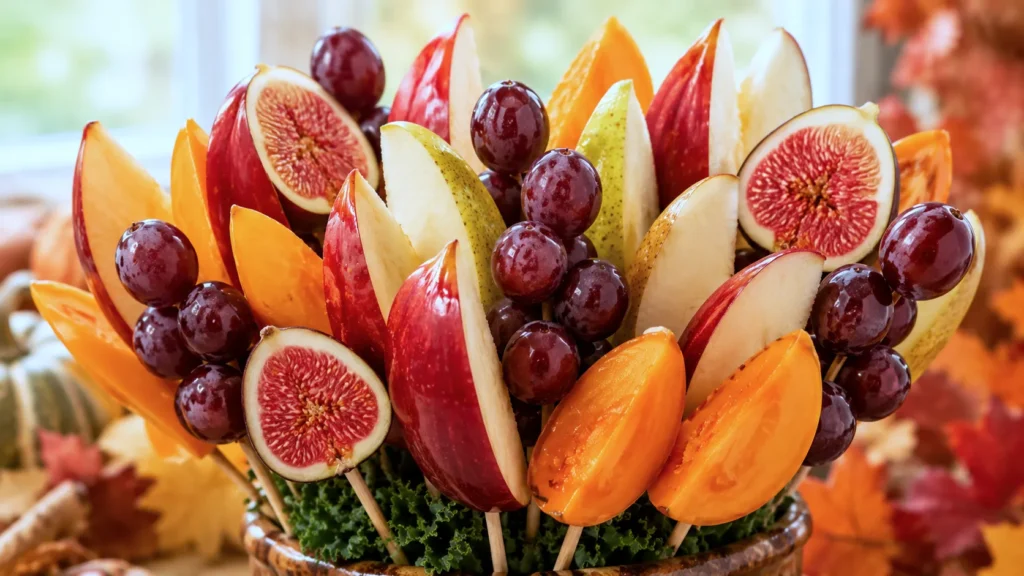
A few links on this page are affiliate links, so if you click and buy, I might earn a small commission. It never costs you more, and it helps support the site. You can read my full disclosure if you’re into the fine print.
Why Fruit Bouquet Ideas Beat a Vase of Flowers
Let’s talk about the elephant in the gift shop. A decent flower bouquet runs $40 to $60, lasts maybe five days, then heads to the trash. Meanwhile, a fruit bouquet costs half that, doubles as dessert, and leaves nothing behind but empty skewers. Everyone goes home full and impressed. I know which one I’d rather receive.
But the real magic isn’t the money. It’s the reaction. Hand someone flowers and they say thank you. Offer them a bouquet of chocolate-dipped strawberries and pineapple stars, and they gasp. Then they take a photo. Next they text that photo to three people. That’s the kind of gift that earns you a reputation.
Here’s where I’ll reframe something for you. Most people assume fruit bouquet ideas require professional skill, like cake decorating or flower arranging. They don’t. This is assembly, not artistry. If you can use a cookie cutter and poke a skewer through a grape, you’re qualified. I mean that with my whole heart.
There’s also the allergy angle nobody considers. Flowers make plenty of people sneeze. No tissues required with fruit. Fruit makes people reach for seconds. Think about gifting to a teacher, a new mom, or a friend with a tiny apartment. Edible wins every single time, and it never needs a vase.
And can we discuss the kid factor for a second? Children will not help you arrange roses, and we both know it. They will absolutely help you ball a melon, and they’ll be weirdly good at it. A fruit bouquet turns gift-making into an activity — less screen time, more sticky, happy chaos. Flowers could never.

What You’ll Need Before You Start
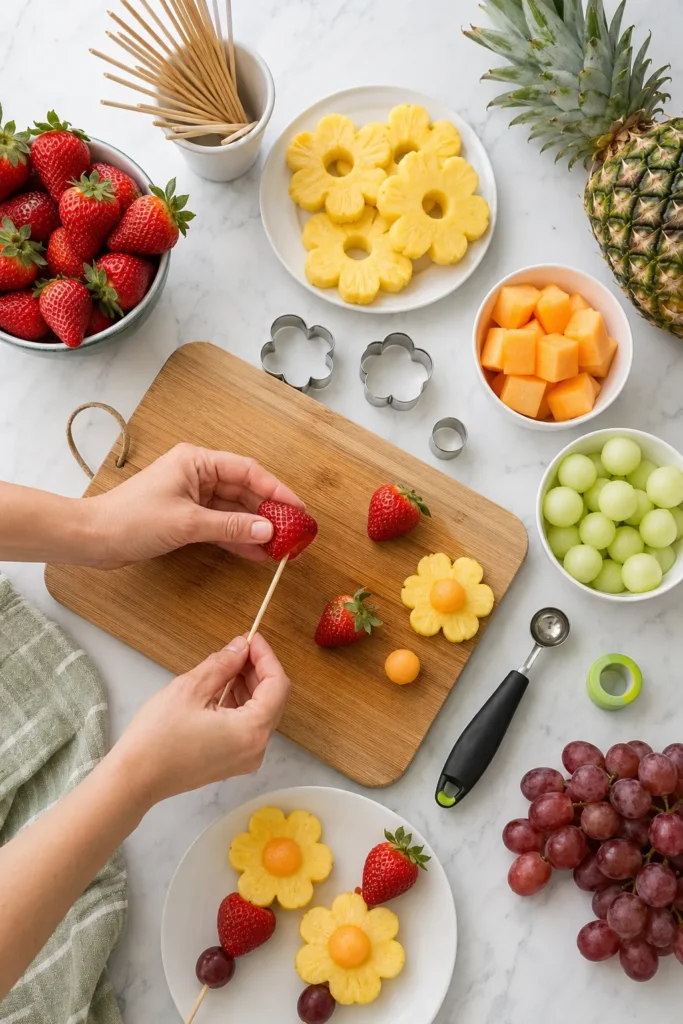
Good news: your kitchen probably holds most of this already. Before you slice a single strawberry, gather every supply in one spot. Nothing derails a craft project faster than hunting for skewers with sticky hands. (Ask me how I know. On second thought, don’t.)
Here’s your gathering list:
- Wooden skewers — the sturdy 10-inch kind, about 25 to 30 per bouquet
- Cookie cutters — small flower and star shapes, 2 to 3 inches wide
- A melon baller — or a rounded tablespoon in a pinch
- A sturdy container — a flowerpot, pitcher, or wide mug all work
- Half a head of iceberg lettuce — this anchors your skewers (trust me here)
- A sharp knife and cutting board — dull knives crush delicate fruit
- Paper towels — more than you think you’ll need
- Mini cupcake liners — optional, but they catch chocolate drips beautifully
That lettuce line probably made you blink. Most tutorials tell you to buy floral foam, but standard foam isn’t food-safe. Lettuce grips skewers wonderfully, costs about two dollars, and stays hidden under the fruit. It’s the budget hack that launched half my fruit bouquet ideas in the first place.
One more thing before we move on. Skip the flimsy toothpick-style sticks at the dollar store. Thin skewers snap under a chunk of cantaloupe, and then you’re rebuilding mid-assembly with sticky fingers. Sturdy ones cost maybe a dollar more and save your whole afternoon. Cheap tools make expensive mistakes, as my grandmother never said but definitely would have. While you’re shopping, toss an extra lemon in the cart. You’ll want it later for browning control, and I’d hate for you to make a second trip.

Spring and Summer Fruit Bouquet Ideas
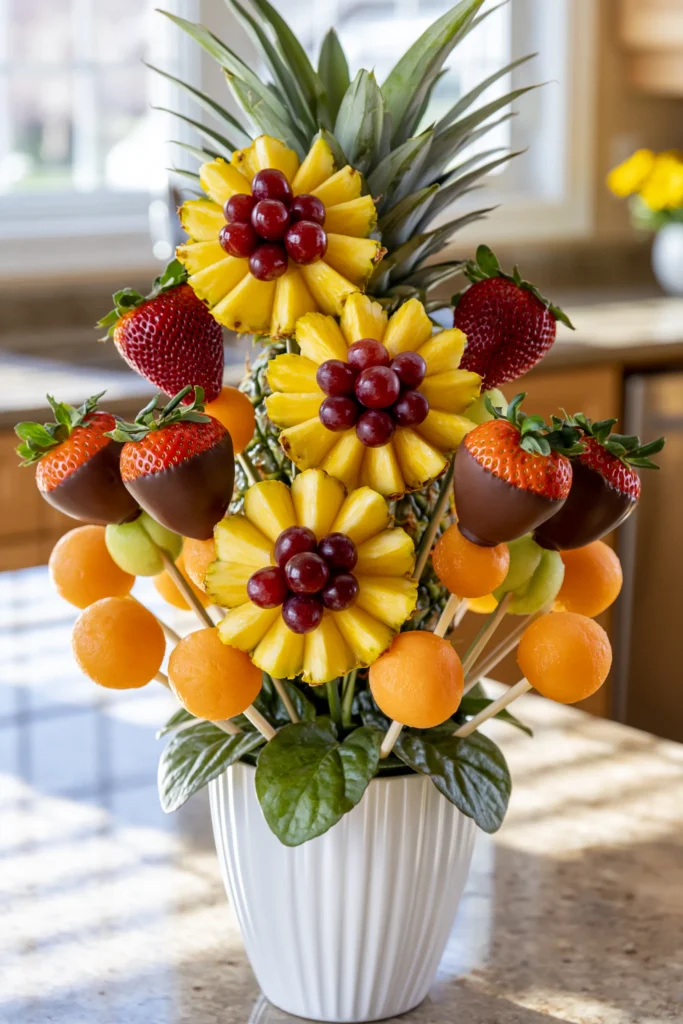
Warm weather is when fruit bouquets truly show off. The produce section turns into a candy store from April through August. Berries get cheap, melons get sweet, and prices drop right when flavor peaks. This is not a coincidence you should waste.
Spring combos I keep coming back to:
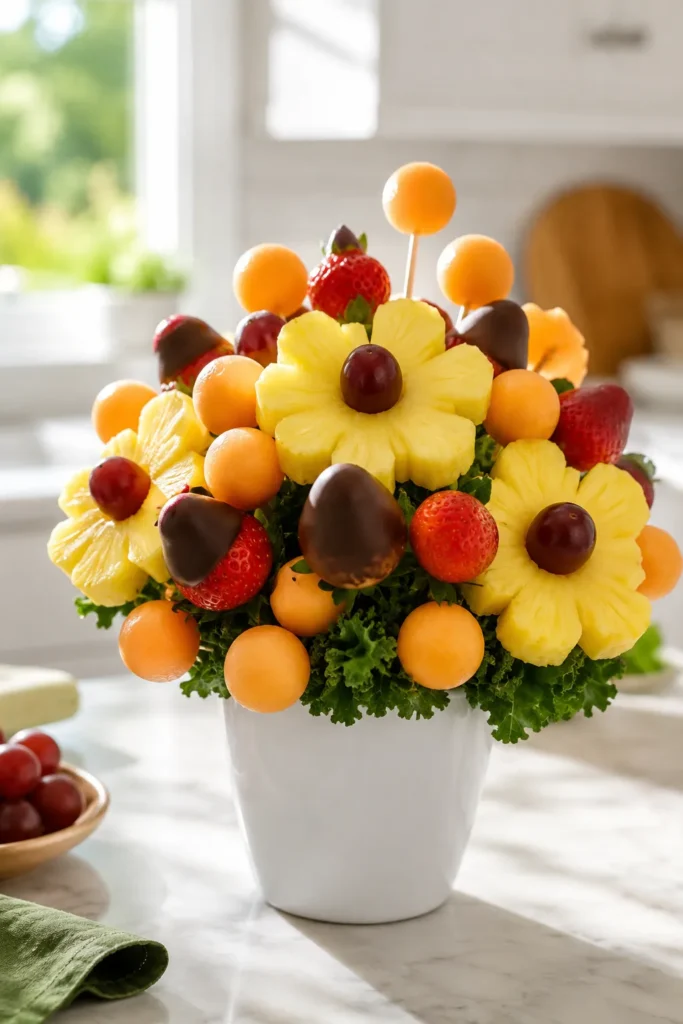
- Strawberry and pineapple daisies — pineapple flowers with a grape center, whole strawberries between them
- Berry medley skewers — strawberries, blackberries, and raspberries stacked like tiny kabobs
- Melon ball mix — cantaloupe and honeydew spheres with fresh mint tucked between (one cheap bunch fills a lot of gaps)
Summer is when I go bigger and bolder:
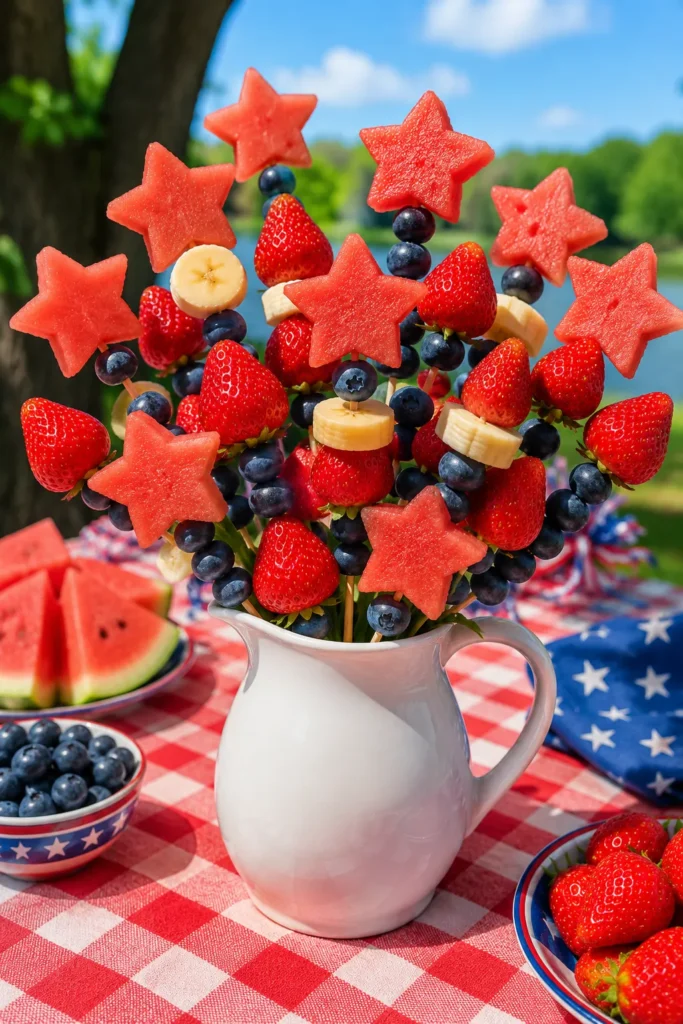
- Watermelon stars — cut thick slices, punch out stars, instant Fourth of July centerpiece
- Red, white, and blue rows — strawberries, banana slices, and blueberries lined up on sticks
- Peach and plum wedges — brushed with lemon juice so they stay bright
- Grape clusters — left whole on the stem for that overflowing, abundant look
Notice what’s missing from both lists? Apples. I save those for cooler months, and I’ll explain exactly why a little later. Every fruit has a season where it costs less and tastes better. Building around that truth is the entire secret, and most people skip right past it. Shop the sale flyer first, then plan your bouquet second.
Quick reality check for my fellow hot-climate friends. Summer fruit bouquet ideas need shade and a short serving window, no exceptions. Set a watermelon arrangement in direct sun and you’ll get a science experiment, not a centerpiece. Keep everything chilled until the last possible minute. Your guests will never know how strategic you were, which is exactly the point.

Fall and Winter Fruit Bouquet Ideas
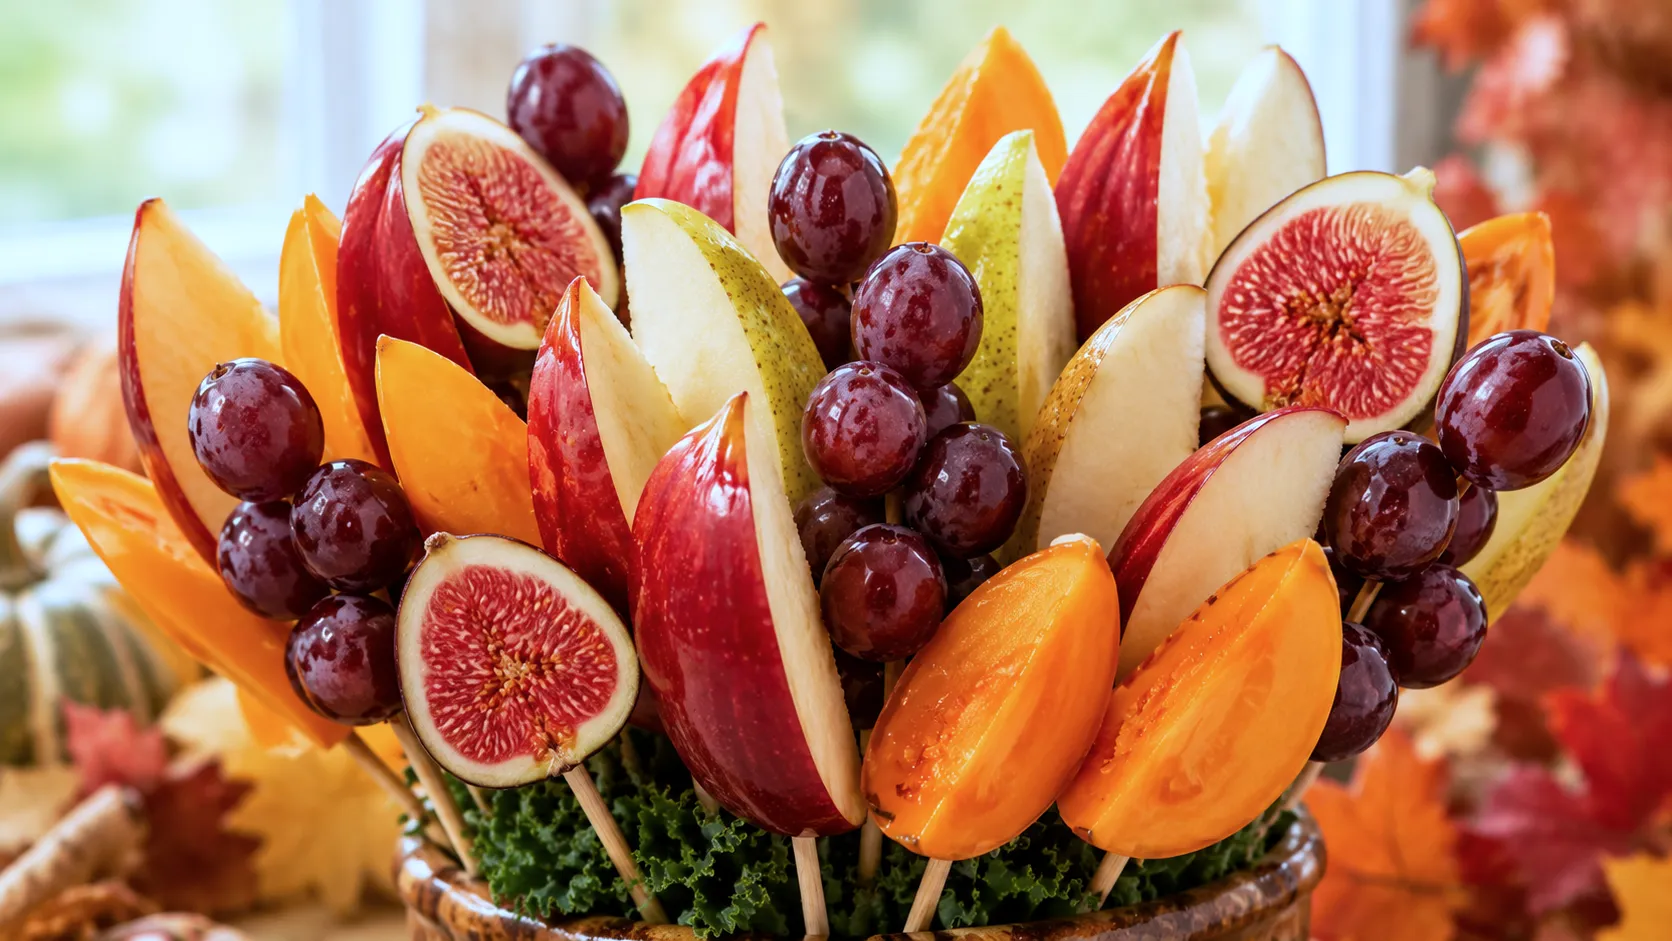
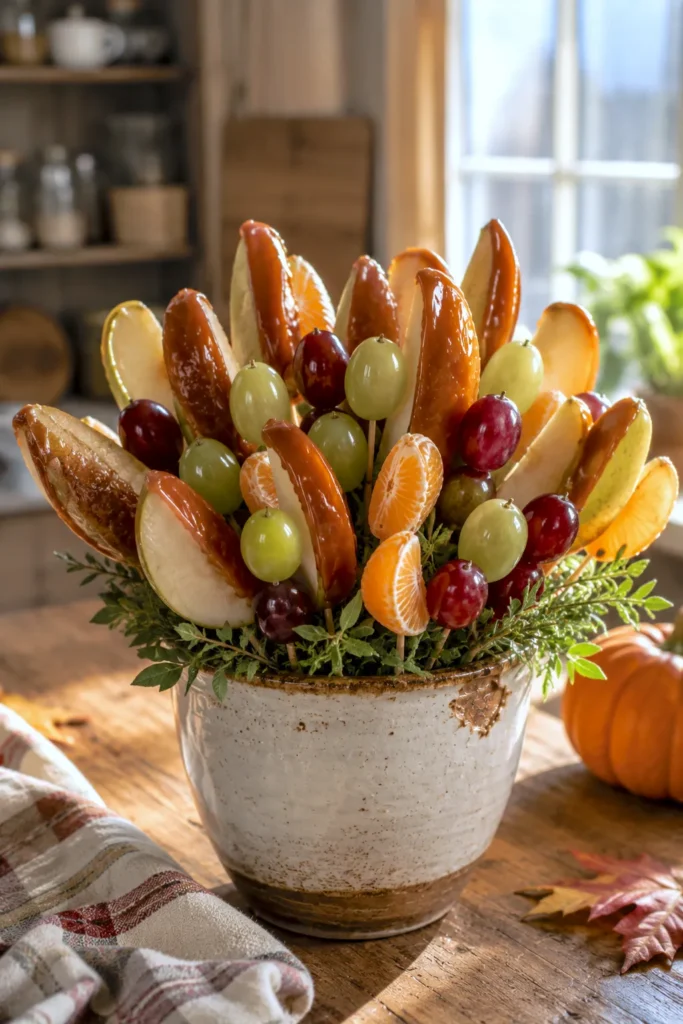
Cold-weather bouquets are my sleeper favorite. Everyone expects fruit arrangements in June. Show up to Thanksgiving with one, though, and watch the whole table go quiet. Nobody sees it coming, which is half the fun. Autumn fruit brings deeper colors and richer flavors, and it photographs like a dream. Think burgundy grapes next to golden pears, with a little green kiwi for contrast. Your holiday table has never looked this good on this small a budget.
My fall lineup looks like this:
- Caramel-dipped apple slices — Granny Smith holds its shape best
- Pear wedges — firm Bosc pears sit sturdiest on a skewer
- Red and green grapes — the reliable filler of every fall bouquet
- Orange segments — or whole clementines with a skewer pushed through the center
Winter is where chocolate earns its keep:
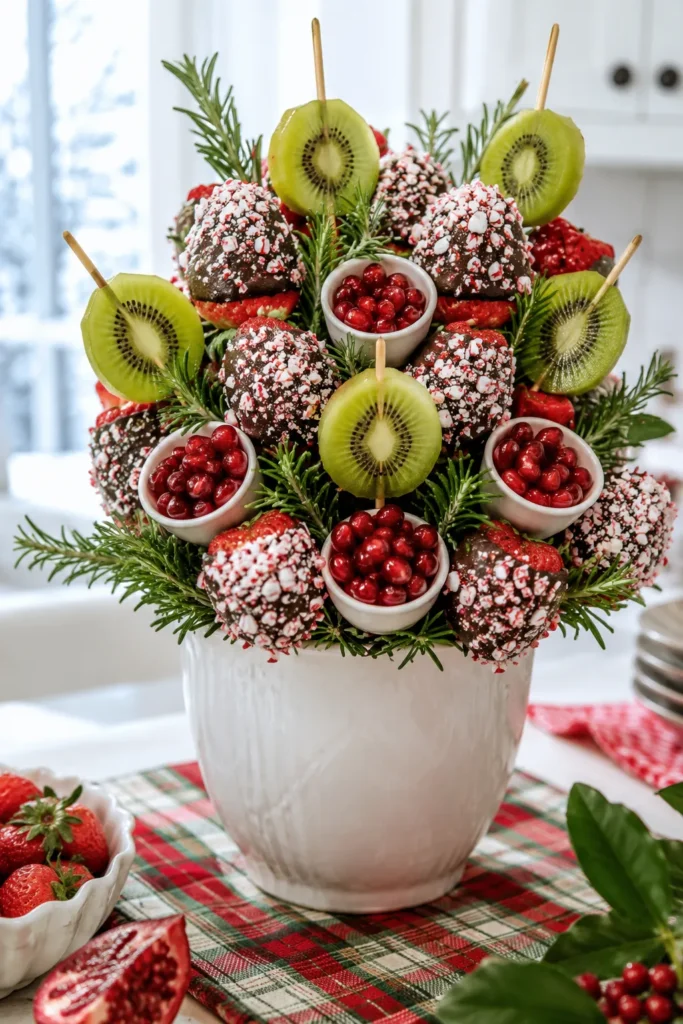
- Chocolate-dipped strawberries — rolled in crushed candy canes for December
- Pomegranate seed cups — tiny paper cups nestled between the skewers
- Kiwi rounds — bright green against all that red, very wreath-like
- Rosemary sprigs and dried cranberries — tucked in as festive filler
About those apples I mentioned earlier — here’s the payoff. Apples brown fast, which scares people away from using them. The fix is a quick bath in lemon water — one tablespoon lemon juice per one cup water. That little soak buys you hours of crisp white slices, and it works on pears too. Problem solved, mystery closed.
Now I’ll say something a little spicy. Winter fruit bouquet ideas beat summer ones for gifting, full stop. Cold months are gray and dreary, so a bright edible bouquet lands so much harder. Anyone can impress in July. December is where legends are made.

The Full Recipe, Start to Finish
This is my classic, crowd-pleasing base recipe, and it serves 8 to 10 people. Swap fruits by season using the combos above — the method never changes. One base formula powers all the fruit bouquet ideas in this entire post.
Ingredients:
- 1 whole pineapple
- 1 pound large strawberries (about 16 to 20 berries)
- 1 small cantaloupe
- 1 cup whole red grapes
- 1 cup semi-sweet chocolate chips (optional but recommended)
- 1 teaspoon coconut oil (for smoother melted chocolate)
- Half a head of iceberg lettuce
Steps:
- Wash all fruit and dry it completely with paper towels. Completely is the key word.
- Slice the pineapple into 1-inch rounds, then punch out flowers with your cookie cutter.
- Scoop the cantaloupe into balls with your melon baller.
- Melt the chocolate chips with the coconut oil in 30-second microwave bursts, stirring between each.
- Dip half the strawberries in chocolate and chill them on parchment for 15 minutes.
- Press the lettuce half into your container, flat side down.
- Thread fruit onto skewers — one showpiece per stick, smaller pieces below it.
- Push the tallest skewers into the center of the lettuce first.
- Work outward and downward, angling shorter skewers toward the edges.
- Fill any gaps with grape skewers and chill until serving time.
Total time runs about one hour, including cleanup. Step one matters more than people expect, because wet fruit slides down skewers and streaks the chocolate. Dry fruit stays put and shines. But the big beginner mistake I teased at the very top? That one’s still coming, and it happens after all ten steps are done.

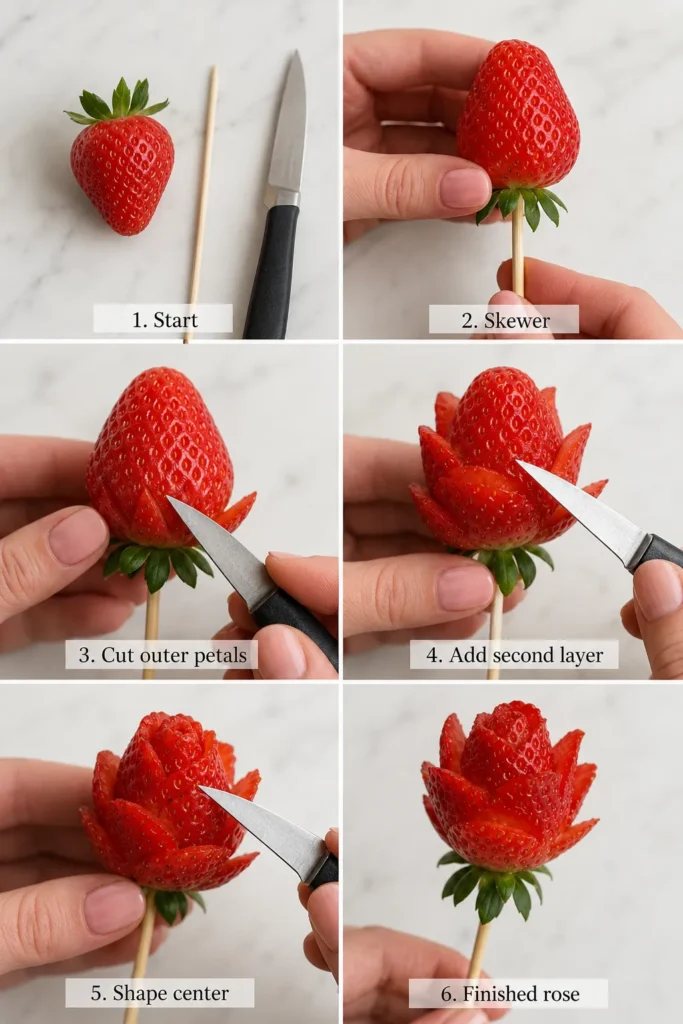
My Best Tips for a Bouquet That Doesn’t Flop
Time to pay off that promise from the intro. The number one beginner mistake is loading heavy fruit at the top of the arrangement. A chocolate strawberry perched high looks dramatic for about ten minutes. Then gravity gets a vote, the skewers tilt, and your masterpiece slowly becomes the leaning tower of melon. Heavy pieces belong low and centered, where the lettuce grips hardest, and light grapes earn the high spots. Most tutorials skip this physics lesson entirely, which explains a lot of sad, sagging results out there.
My second tip sounds fussy but changes everything. Chill your fruit before assembly, not just after. Cold fruit is firmer, which means cleaner cookie-cutter edges and less juice on your wrists. Warm cantaloupe practically falls apart on a skewer.
Third: build in odd numbers. Three pineapple flowers look intentional. Four look like you were filling space. Florists have leaned on this trick forever, and it works just as well when your flowers are edible.
I’d also beg you to assemble the same day you serve. A bouquet built the night before will survive, but it won’t sparkle. Cut fruit weeps overnight, even in the fridge, and nobody wants a damp centerpiece. Ninety minutes before guests arrive is my sweet spot.
One last thought that surprises people. Imperfection reads as homemade, and homemade reads as love. If a pineapple flower tears or a melon ball turns out more blob than sphere, leave it in. The lopsided ones disappear once the whole arrangement comes together. Nobody has ever inspected my bouquets with a ruler, and nobody will inspect yours.
Fruit Bouquet Ideas for Serving and Gifting
Now for my favorite part: showing this thing off. A fruit bouquet can be a centerpiece, a gift, or dessert, and sometimes all three in one afternoon. How you present it decides which one it becomes.
For parties, park it in the middle of the table and hand out small plates. Guests pull skewers like they’re picking flowers, which becomes its own little icebreaker. Add a bowl of vanilla yogurt or warm chocolate nearby for dipping. Brunch crowds especially lose their minds over this setup, and I don’t blame them. Snap a photo early, because the pretty version won’t last long.
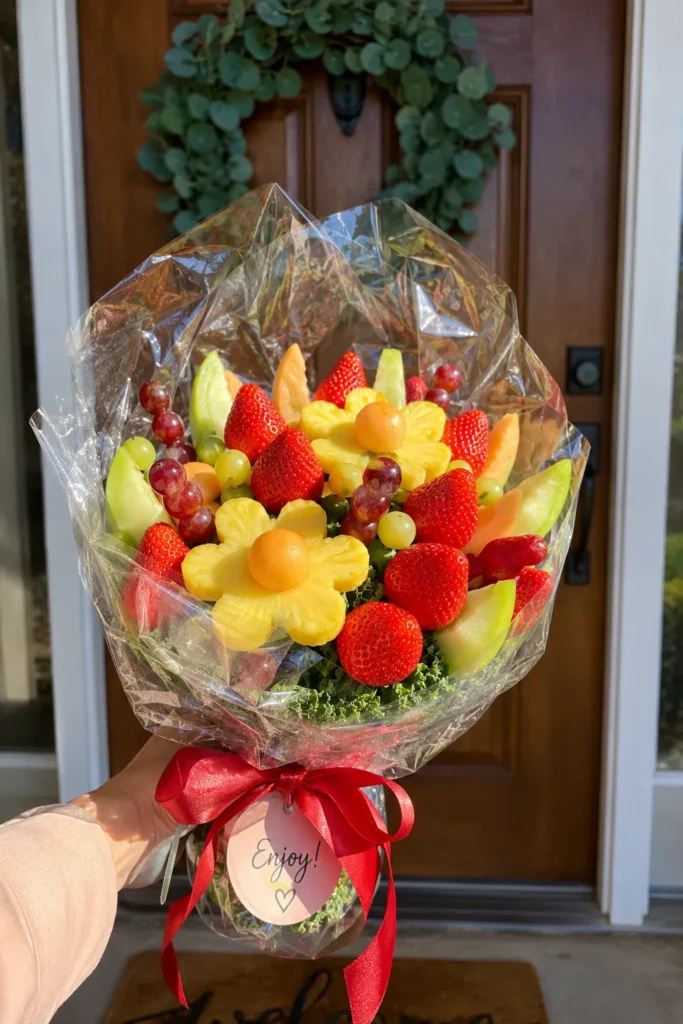
For gifting, wrap the whole container in clear cellophane and tie it with ribbon. Teacher gifts, new baby visits, get-well drop-offs — I can’t think of a doorstep this doesn’t suit. The cellophane crinkle alone makes it look store-bought. It travels best in a box on the car floor, wedged with a towel. Learn from the people who learned the hard way.
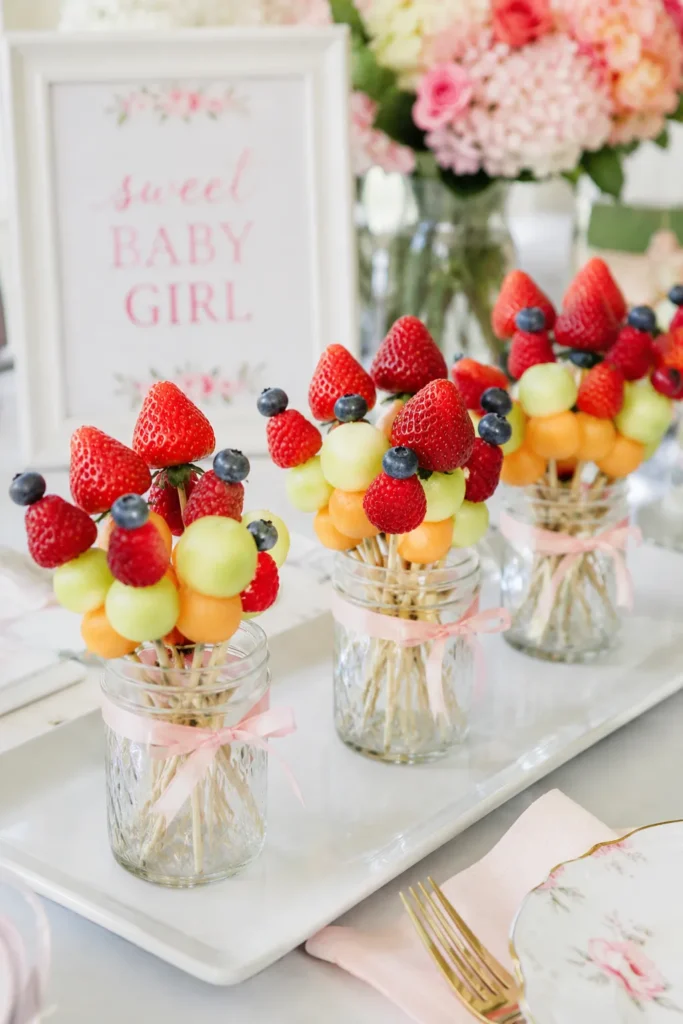
Mini versions deserve their own moment here. Build small arrangements in mason jars or short cups, one per guest, and you’ve made edible place settings. Kids’ birthday parties are the obvious win, but baby showers might be even better. Tiny bouquets photograph beautifully, and shower guests swoon over anything miniature.
Here’s an opinion I’ll defend at any potluck. Fruit bouquet ideas make better hostess gifts than wine, every single time. Half the room doesn’t drink, but I’ve never met anyone who refused a chocolate-covered strawberry. You show up with fruit, and suddenly you’re the guest everyone remembers. That’s not luck. It’s strategy dressed up as generosity.
FAQs You’ll Wish You Asked Sooner
How far in advance can I make a fruit bouquet? You can prep the fruit up to 24 hours ahead and store it in airtight containers. Assemble the actual bouquet the day you serve it, ideally within two hours. Freshness is the whole show here, so guard it.
How long does a finished bouquet last? In the fridge, about 24 hours before it starts looking tired. At room temperature, plan on two hours max. Warm rooms shrink that window fast, so mind your thermostat and your sunbeams. When in doubt, chill it.
What fruits should I avoid? Bananas and apples brown quickly without a lemon juice bath. Overripe anything turns mushy on a skewer and slides right off. Save the soft stuff for smoothies. Citrus works, but only as segments or whole clementines — cut wedges drip everywhere.
Can I make one without chocolate? Absolutely, and it’s still gorgeous. Chocolate adds drama, not structure, so nothing collapses without it. Skipping it also shaves 20 minutes off your prep time. A bare fruit bouquet reads fresh and bright, which some mornings and menus call for anyway.
Do I really need the lettuce base? You need something that grips, full stop. Lettuce is my pick because it’s cheap and completely food-safe. A halved melon works too, flat side down. Skip regular floral foam unless the label clearly says food-safe.
Where do I find the best fruit bouquet ideas for specific holidays? Start with whatever produce is on sale that week. Sales follow the seasons, and the seasons basically design the bouquet for you. Valentine’s means strawberries, July means watermelon, and December means anything dipped in chocolate.
Go Skewer Something Beautiful
Here’s where I admit something small. I started making these after a mall kiosk quoted me a price that made me laugh out loud. In public. With witnesses. Spite is an underrated craft motivator, and mine produced a hobby I genuinely love. My grocery budget won that argument, too.
These days I keep skewers in my kitchen drawer the way other people keep batteries. A bouquet has become my default answer to almost every occasion. Nobody has complained yet, and I doubt anybody will start. Friends’ birthdays, school parties, random Tuesdays that need rescuing — there’s always a reason. Orlando’s farmers markets keep me stocked year-round, which I fully recognize is showing off. Forgive me.
If you take one thing from this post, take this. Fruit bouquet ideas aren’t about perfection or flawless symmetry, even though yours will absolutely end up on Pinterest. They’re about handing someone something beautiful that they also get to eat. Beauty plus snacks is an unbeatable combo, and I don’t make the rules. No florist can compete with that.
So pick a season, grab a cookie cutter, and commit. Your first bouquet might lean a little, and that’s fine. The second will stand taller, and the third will make someone cry happy tears. Somewhere around bouquet four, people start placing requests. Consider yourself warned. Trust the process, and trust the lettuce.
Flowers wilt. Fruit disappears — and that’s how you know it worked.