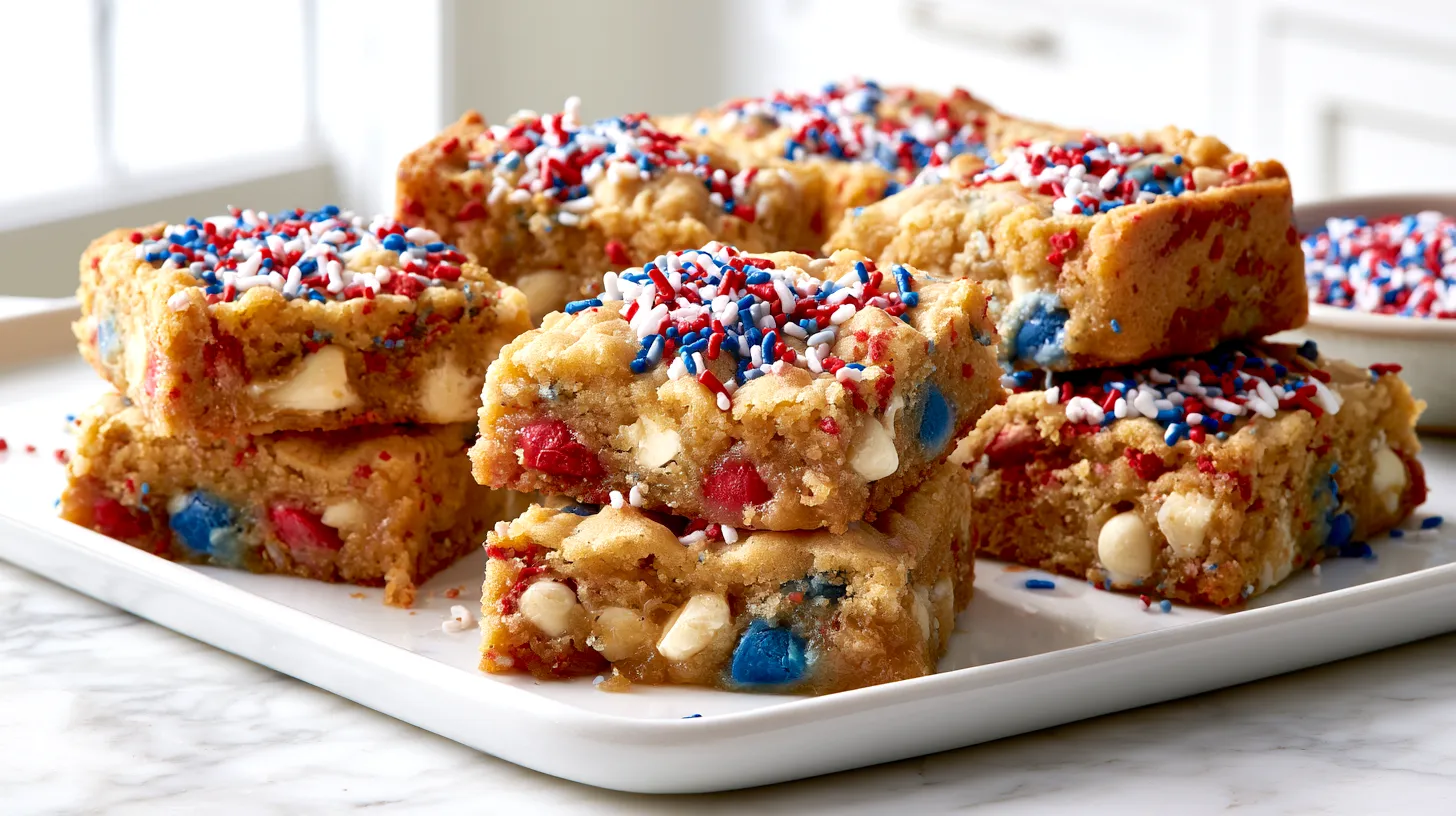
I tend to trust party desserts that don’t require tiny frosting bags or emotional strength. That’s why 4th of July cookie bars make so much sense. They bring the red, white, and blue drama without asking anyone to babysit three cookie sheets. Already, I respect that.
Living in Orlando means July can feel like standing inside a hot dishwasher. So yes, I want a dessert that bakes once, cools calmly, and feeds a crowd. As a mom, I also like anything that looks festive before someone asks where the plates went.
Cookie bars sit in that sweet little middle place. They’re more exciting than plain cookies. However, they’re less fussy than a layer cake wearing buttercream jewelry. That matters when the day already has sparklers, sunscreen, sticky hands, and someone hunting for the good chips. Also, nobody needs a dessert with a résumé.
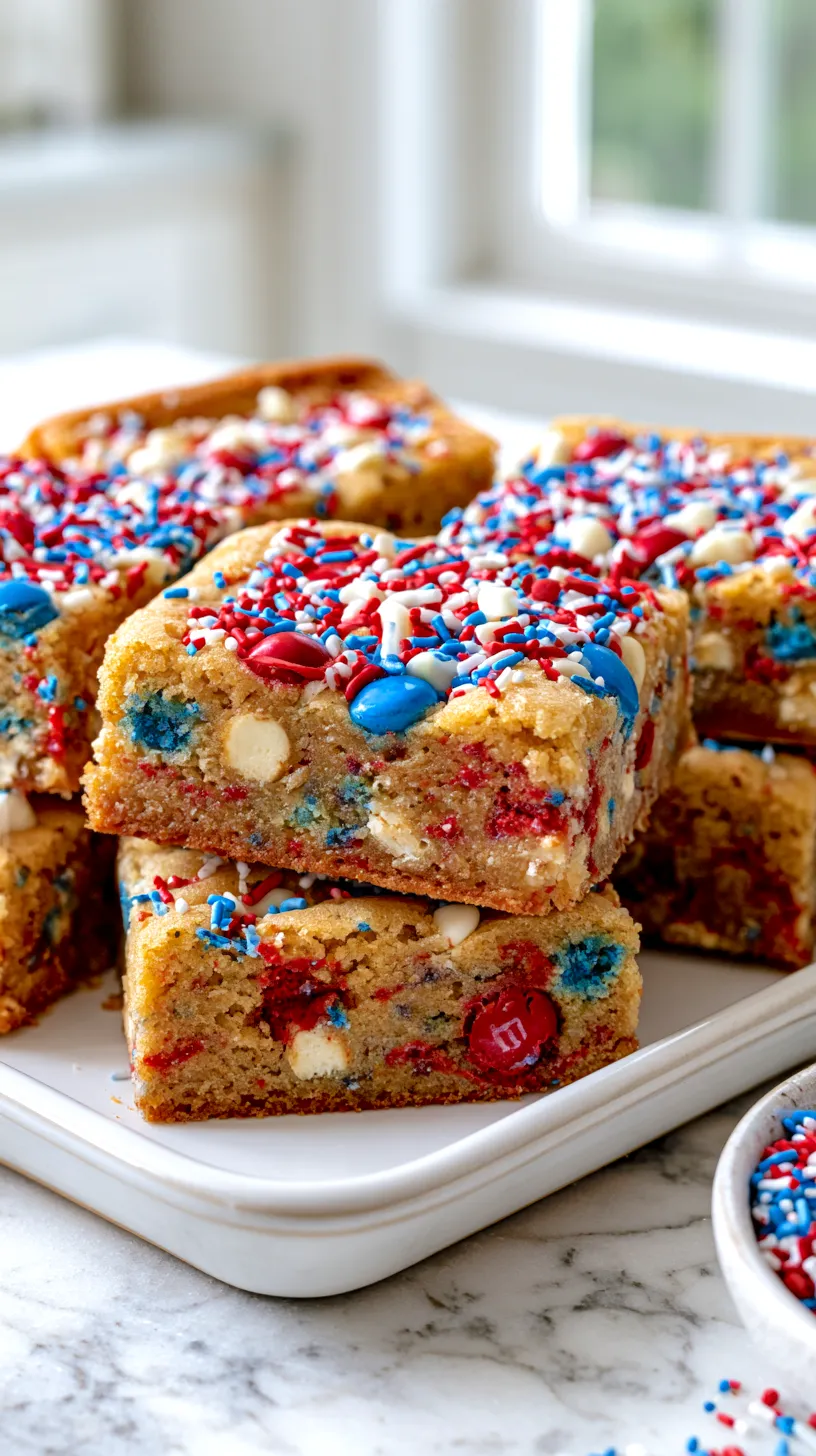
I’ve found that holiday desserts work best when they look intentional but don’t act needy. These bars do that. They bake up soft in the center, golden near the edges, and speckled with patriotic candy. Plus, the whole pan cuts into neat squares, which feels deeply satisfying.
Of course, there’s a tiny catch. Cookie bars look simple, but the details matter. Overbake them, and they lose that soft middle. Cut them too early, and they crumble like a bad plan. So let’s make the kind of pan that gets noticed for the right reasons.
A few links on this page are affiliate links, so if you click and buy, I might earn a small commission. It never costs you more, and it helps support the site. You can read my full disclosure if you’re into the fine print.
Why 4th Of July Cookie Bars Win The Dessert Table
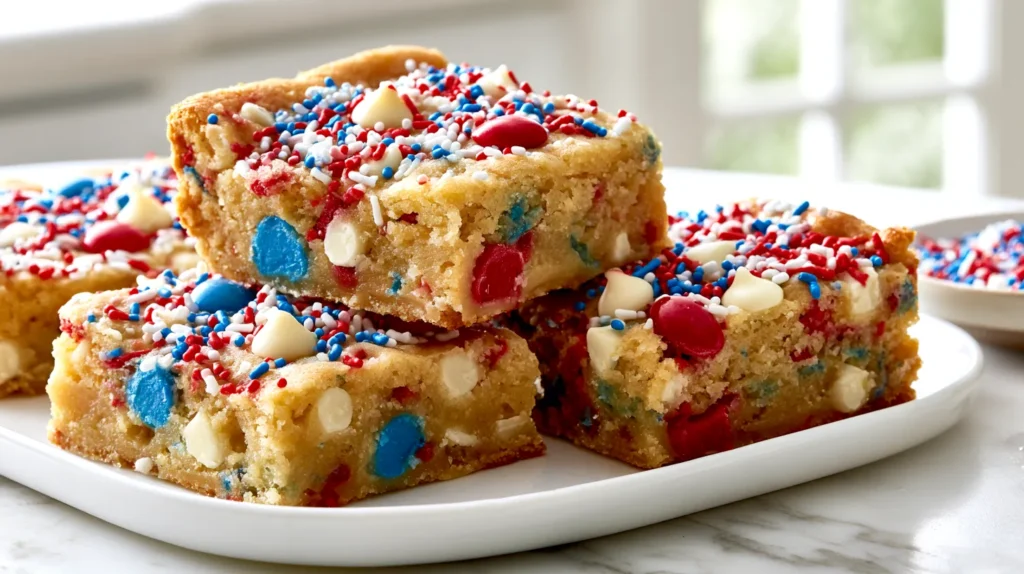
I know cupcakes get loud attention at summer parties. They arrive with swirls, sprinkles, flags, and big frosting energy. Still, 4th of July cookie bars have a quieter kind of confidence. They don’t need a tower stand or a rescue mission in the fridge.
That’s the part I love. A cookie bar gives you the flavor of a soft chocolate chip cookie. However, it also brings the ease of one pan. There’s no scooping. You skip tray rotation. Nobody wonders why the last batch looks personally offended.
These bars also travel better than most frosted desserts. That matters for cookouts, pool parties, church potlucks, and backyard fireworks nights. A pan of bars can sit on a table without becoming a whole personality test. Meanwhile, frosting starts sweating and looking suspicious by round two.
Here’s the little twist. People often assume festive desserts need extra work. I tend to notice the opposite works better. A basic cookie dough base looks party-ready once you add red, white, and blue candy. Suddenly, the pan says “holiday dessert” without demanding a kitchen cleanup committee.
Texture does the heavy lifting here. Chewy edges matter. The center stays soft if you don’t overbake it. Then the candy adds color and crunch without turning the bars into a craft project.
For the best result, think simple and generous. Use real butter. Add vanilla. Mix in enough candy to show up in every square. After that, the pan does most of the work. Besides, a square dessert behaves well around paper plates. That matters when the table already has watermelon, chips, dips, and somebody’s giant soda cup. Tiny victory, but still deeply useful.
The Simple Pantry Lineup For 4th Of July Cookie Bars
I like a recipe list that doesn’t make me visit three stores. These 4th of July cookie bars stay friendly that way. Most of the base comes from regular baking staples. Then the festive part comes from candy, sprinkles, and a little restraint. Yes, restraint. Sprinkles can get chaotic fast.
For one 9×13-inch pan, gather these ingredients before mixing. It keeps the process smoother, and it saves that lovely moment of realizing the eggs are missing.
- 1 cup unsalted butter, melted and slightly cooled
- 1 cup packed light brown sugar
- 1/2 cup granulated sugar
- 2 large eggs, room temperature
- 2 teaspoons vanilla extract
- 2 3/4 cups all-purpose flour, spooned and leveled
- 1 tablespoon cornstarch
- 1 teaspoon baking soda
- 1/2 teaspoon baking powder
- 1 teaspoon fine salt
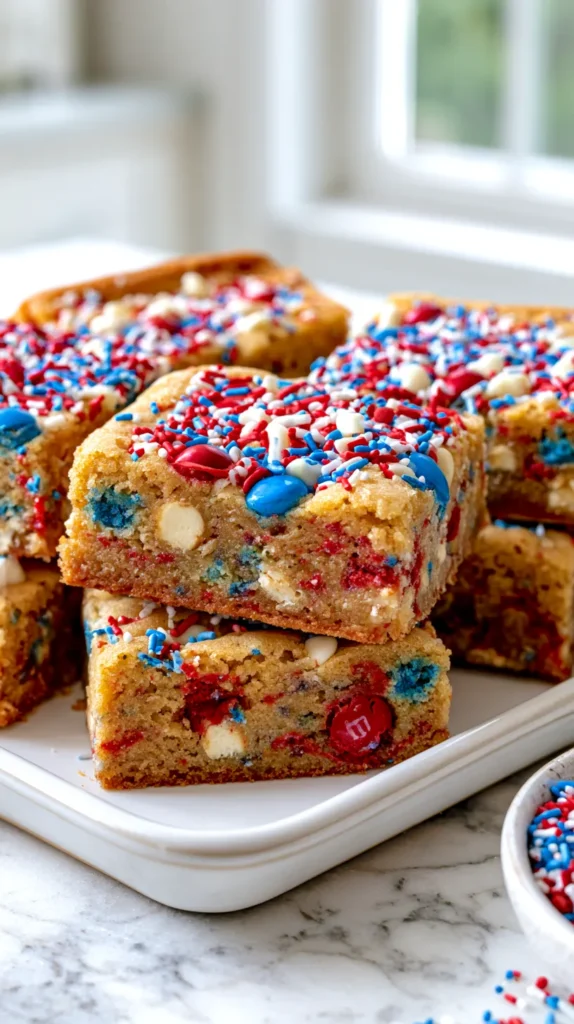
- 1 cup red, white, and blue chocolate candies (like M&Ms)
- 3/4 cup white chocolate chips
- 1/4 cup patriotic sprinkles, plus more for topping
The cornstarch might seem like a small thing. However, it helps the bars bake tender instead of dry. That little spoonful keeps the texture soft without making the dough weird.
Melted butter also matters. It gives the bars a rich, dense bite, almost like a blondie. Softened butter works, but melted butter makes this recipe easier. No mixer tantrum. The beaters stay clean in the drawer. Bless.
One more thing before mixing. Use jimmies or thicker sprinkles when possible. Nonpareils can bleed into the dough. Then the batter looks less “patriotic picnic” and more “art project in distress.” Nobody needs that subplot. Fireworks already have enough suspense. Also, thicker sprinkles give cleaner color and better texture in every bite. Those tiny details save the pan.
How To Easily Make 4th Of July Cookie Bars
The process is easy, but I still like keeping the order tidy. Cookie dough can forgive a lot. Still, these 4th of July cookie bars turn out best with slightly cooled butter. Also, the flour needs a kind measurement. Flour packed into the cup can make bars dry. Nobody invited dry cookie bars.
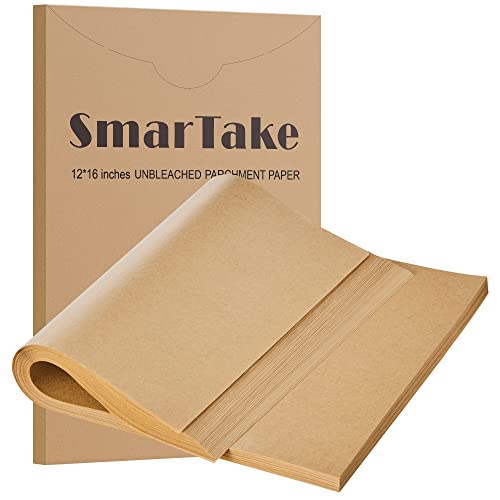
Start with a 9×13-inch metal baking pan if you have one. Line it with parchment paper, leaving extra over the sides. Then lightly spray the paper. The parchment handles lifting, and the spray handles the corners. Teamwork, but not annoying.
- Heat the oven to 350°F.
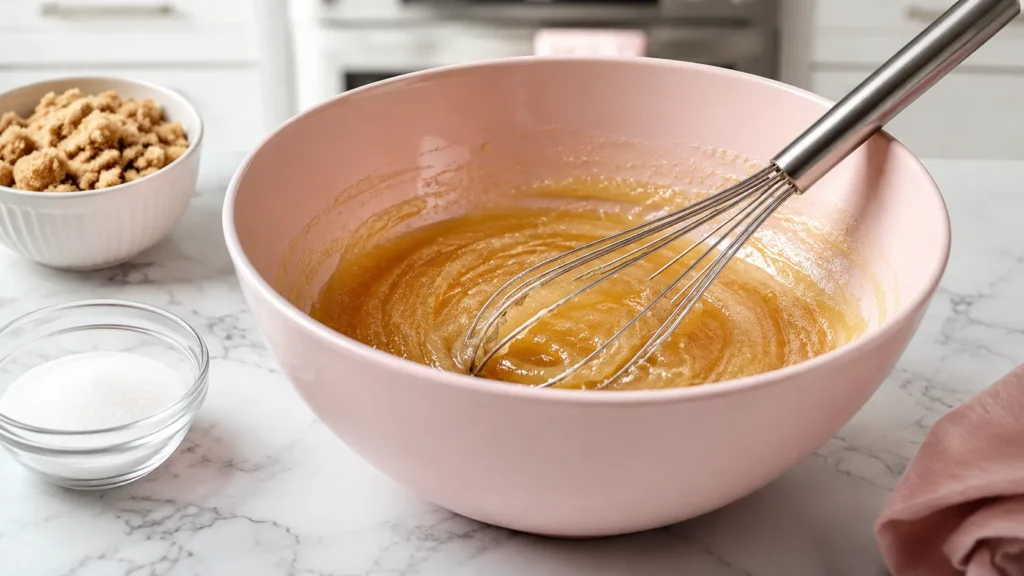
- Whisk melted butter, brown sugar, and granulated sugar until smooth.
- Add eggs and vanilla, then whisk until glossy.
- Stir flour, cornstarch, baking soda, baking powder, and salt separately.
- Fold the dry ingredients into the wet mixture.
- Stop mixing once no dry streaks remain.
- Fold in candies, white chocolate chips, and sprinkles.
- Press the dough evenly into the prepared pan.
- Add extra candies and sprinkles on top.
- Bake for 24 to 29 minutes.
- Cool fully before slicing into squares.
The dough will be thick. That’s normal. I like to use clean hands or a spatula sprayed lightly with oil. It presses the dough into the corners without dragging everything around.
Here’s the part people rush. The center should look set, not firm like a brick. A toothpick may show a few moist crumbs. That’s good. However, wet batter means it needs more time.
Also, let the pan cool on a rack. The bars keep setting as they cool. That delayed payoff gives you clean slices later. It also keeps the middle from sinking into soft little valleys.

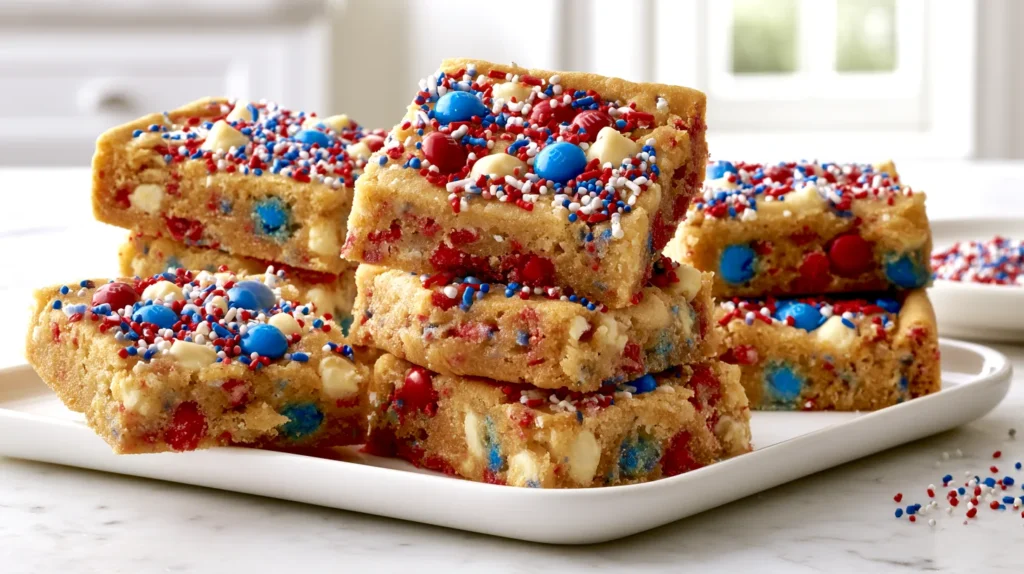
The Bake Time Sweet Spot Everyone Overthinks
Baking cookie bars can mess with your confidence a little. Cookies give you edges, bottoms, and fast answers. A big pan stays mysterious. The middle looks soft, the edges look done, and suddenly everyone becomes a dessert detective.
For these 4th of July cookie bars, I start checking at 24 minutes. A metal pan usually lands between 25 and 28 minutes. However, ovens like to have opinions. Some run hot, some run shy, and some act different after preheating. Very charming behavior.
The best clue sits near the center. You want the top to look lightly golden and dry, not shiny. The edges should pull slightly from the pan. Meanwhile, the middle should still look soft enough to make you nervous. That is usually the correct moment.
This sounds wrong. I know. But cookie bars firm up after baking. If they look completely done in the oven, they may taste overdone later. That’s the sneaky little trap. Pulling them early protects the soft center.
Glass pans need a slightly different plan. They hold heat longer, so the edges may brown faster. If you use glass, check early and expect extra carryover heat. You can also lower the oven to 325°F and bake longer, if needed.
I’ve found that color helps more than the clock. Pale tops often need more time. Deep brown edges usually mean you waited too long. Aim for golden edges and a set top. The center should say, “Trust me, I’m almost there.”
Then do the hardest thing. Leave them alone. The reward comes later, when the knife makes clean squares instead of cookie rubble. Annoying? Maybe. Worth it? Completely. That matters.

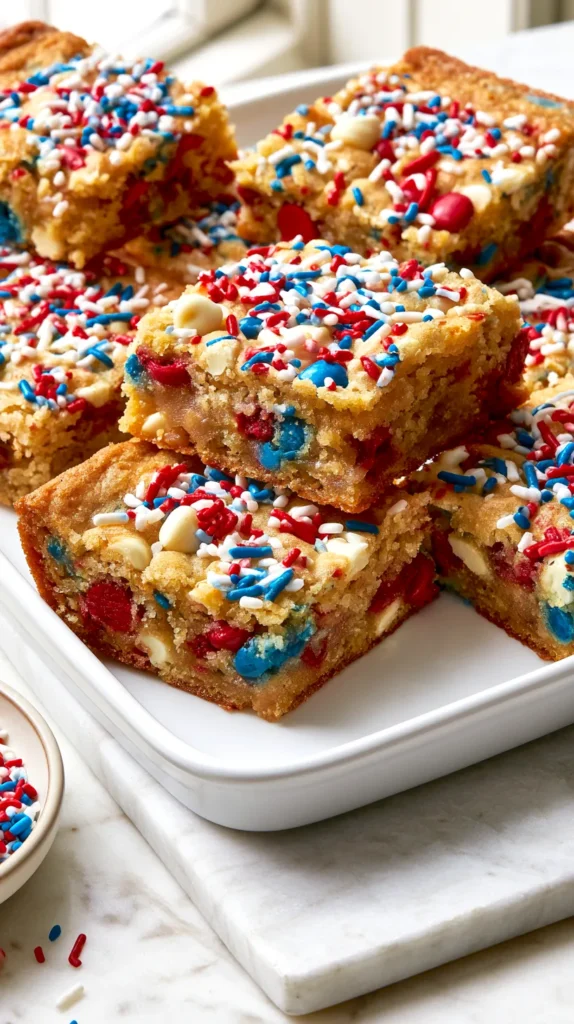
Easy Decorating Ideas For 4th Of July Cookie Bars
I love a decorated dessert that doesn’t require delicate wrist movement. These 4th of July cookie bars already have color inside. However, the top layer gives them that festive bakery look. It also hides uneven pressing, which I fully support.
Before baking, press extra candies and sprinkles across the top. Don’t dump them in one patriotic avalanche. Scatter them so every square gets some color. The pan looks better, and nobody gets the sad plain corner.
Try these easy topping ideas:
- Add extra red, white, and blue candies before baking.
- Sprinkle coarse sugar on top for sparkle and crunch.
- Use white chocolate chips for creamy little pops.
- Add blue sanding sugar only along one side.
- Press a few candy pieces into the bars after baking.
- Drizzle melted white chocolate once bars cool.
- Finish with tiny star sprinkles for party energy.
That last option can go from cute to craft-store explosion quickly. So add a light hand first. You can always add more. Removing sprinkles is not a life I recommend.
Serving also changes the whole look. Cut larger squares for a dessert table. Slice smaller bars for kids, snack trays, or potluck plates. For a cookout, I’d place them on a white platter with strawberries and blueberries nearby. Simple, pretty, and very low drama.
Here’s a small reframe. Decorating doesn’t need to make the recipe harder. It should make the final pan look more intentional. A few toppings placed before baking can do more than ten minutes of fussy finishing later.
That’s my kind of holiday effort. It looks cheerful, but it doesn’t ask for tweezers. That’s the exact party-dessert lane I support. No frosting bag required.

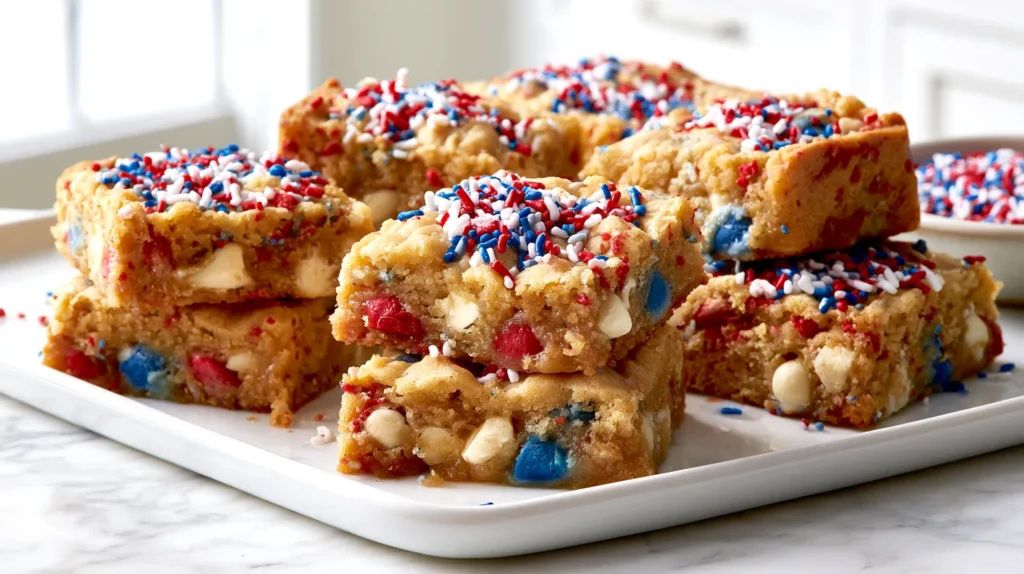
The Cooling And Slicing Part Nobody Wants To Hear
I wish warm cookie bars sliced like a dream. Sadly, they do not. This is where dessert tests our character. The smell says “cut now,” but the pan says “make one wise choice.” Rude, but fair.
For clean 4th of July cookie bars, cool the pan for at least two hours. If your kitchen runs hot, give it closer to three. The middle needs time to set. Otherwise, the knife drags through soft dough and melts the chocolate. Then the squares look messy, even if they taste great.
There’s nothing wrong with messy dessert at home. However, party bars need structure. Cooling turns soft dough into neat slices. It also gives the edges that chewy bite people expect from cookie bars.
Parchment paper helps a lot here. Once the pan cools, lift the whole slab out. Move it to a cutting board. Then use a long sharp knife for clean lines. Wipe the blade between cuts if chocolate smears.
A plastic knife can also work well. It glides through soft bars without pulling as much. That sounds strange, but it’s useful. I tend to use whatever gives the cleanest edge without making the process dramatic.
For tidy squares, trim the very edges first. Those little pieces are chef snacks. Not official ones, obviously. Just tiny quality-control bites with a purpose.
One last thing matters. Don’t cover the bars while they’re still warm. Trapped steam softens the top and changes the texture. Let them cool first, then cover them tightly. That tiny bit of patience protects all the work you already did.
The wait feels unnecessary until the first perfect square appears. Then everyone understands why patience had to enter the chat.
Smart Tips, Swaps, And Storage Notes
A recipe gets more useful when it survives real life. These 4th of July cookie bars can handle a few smart swaps. Still, some changes work better than others. The goal is festive, soft, sturdy bars. Not crumbly sadness with sprinkles.
Use these tips when you want the pan to behave:
- Measure flour with the spoon-and-level method.
- Use a metal pan for the most even edges.
- Avoid overmixing once the flour goes in.
- Add candies on top before baking for better color.
- Let melted butter cool before adding eggs.
- Chill the dough for 20 minutes if your kitchen runs hot.
- Store bars covered at room temperature for three days.
- Refrigerate for up to five days if your house runs warm.
- Freeze sliced bars for up to two months.
- Thaw frozen bars at room temperature before serving.
For swaps, you can use semisweet chocolate chips instead of white chocolate. However, white chocolate keeps the red and blue colors brighter. Mini chocolate chips also work, especially for smaller slices.
If you want a thicker bar, use an 8×8 pan and bake longer. However, that changes the texture and serving count. I prefer the 9×13-inch pan for parties because the pieces stay generous without becoming giant.
Sprinkle choice matters more than people think. Jimmies hold up better in dough. Sanding sugar looks better on top. Nonpareils can bleed, especially with wet dough. Cute? Yes. Risky? Also yes.
Store the bars only after they cool completely. Then layer them between parchment in an airtight container. If you’re making them ahead, bake the day before. That gives you less kitchen chaos on the holiday.
Future you deserves that tiny luxury. She also deserves fewer dishes and a calmer counter.
4th Of July Cookie Bars FAQs
Can I make 4th of July cookie bars ahead of time? Yes, and I think that’s the best move. Bake them one day ahead, then store them covered at room temperature. The texture stays soft, and the slices cut cleanly once fully cooled.
Can I use a glass baking dish? Yes, but watch the edges. Glass holds heat longer than metal. Because of that, the bars may keep baking after leaving the oven. Check early, and consider baking at 325°F if your glass pan browns fast.
Can I use salted butter? Yes, but reduce the added salt to 1/2 teaspoon. Salted butter brands vary, so this keeps the flavor balanced without guessing.
How do I know when the bars are done? Look for golden edges and a set top. The center should look soft, not wet. A toothpick should show moist crumbs, not raw batter. The bars will finish setting as they cool.
Can I make these without sprinkles? Absolutely. Use more red, white, and blue candies instead. You can also add white chocolate chips on top for contrast. The bars still look festive without turning the dough into confetti.
Can I double the recipe? Yes, but use two 9×13-inch pans. One giant pan can bake unevenly. Two pans give better edges, better centers, and fewer “why is this still raw?” moments.
Can I serve these warm? You can, but expect soft, messy squares. For parties, cool them fully first. If you want that warm cookie moment, microwave one slice for about eight seconds later.
What should I serve with them? Add vanilla ice cream, whipped cream, berries, lemonade, or iced coffee. For a dessert board, pair them with strawberries, blueberries, pretzels, and mini brownie bites.
4th of July Cookie Bars
Ingredients
Method
- Heat the oven to 350°F.
- Line a 9×13-inch metal baking pan with parchment paper, leaving extra over the sides.
- Lightly spray the parchment paper.
- Whisk the melted butter, brown sugar, and granulated sugar until smooth.
- Add the eggs and vanilla.
- Whisk until the mixture looks glossy.
- Stir the flour, cornstarch, baking soda, baking powder, and salt together in a separate bowl.
- Fold the dry ingredients into the wet mixture.
- Stop mixing once no dry streaks remain.
- Fold in the red, white, and blue chocolate candies, white chocolate chips, and patriotic sprinkles.
- Press the dough evenly into the prepared pan.
- Add extra candies and sprinkles on top.
- Bake for 24 to 29 minutes.
- The bars are done when the edges look golden and the top looks set.
- A toothpick should show moist crumbs, not raw batter.
- Cool the bars fully before slicing into squares.
Tried this recipe?
Let us know how it was!The Sweet Little Pan That Handles The Holiday
I’ve found that holiday baking works best when it gives more than it asks. 4th of July cookie bars do exactly that. They bring color, buttery cookie flavor, soft centers, and enough servings for a whole table. Yet they don’t demand frosting skills or a quiet kitchen.
That matters in July. The day already has heat, noise, paper plates, and at least one person asking where the lighter went. A dessert that stays simple earns its place fast. Plus, bars photograph well for Pinterest, especially with those bright candy tops and clean square edges.
As a mom in Orlando, I fully respect any summer recipe that doesn’t trap me near the oven. One pan, one bake, and a whole platter of festive squares feels like the right level of effort. Enough to look thoughtful. Not enough to make me rethink my choices.
The real charm sits in the balance. These bars taste familiar, but they still look party-ready. They’re cheerful without being fussy. That’s a rare little lane, and I like when dessert finds it.
So bake the pan, let it cool, and cut the squares with confidence. Then place them where people can grab one with zero fork drama. No plate strategy needed. Formal dessert plan? Also no.
There’s a little satisfaction in that kind of dessert. It gives the table color, but it doesn’t make the day harder. That’s the balance I keep chasing with summer baking.
And that’s the kind of Fourth dessert that understands the assignment.